In this video, I evaluate a tower heatsink and combo provided to be my Seeed Studio:
Background
I’ve already done a blog post on Raspberry Pi4 cooling where I tried a Raspberry Pi 4, both with and without a fan. I investigated whether you really needed a fan (my conclusion generally being “it depends”) and various methods to slow a fan down so it won’t be so damn noisy.
I found that the stock Raspberry Pi 4 idled at about 55 to 57C, and full load would easily bring it up to 82C where we were frequency capped. I found that even a relatively small fan, even slowed down with PWM, was enough to keep the pi down to a safe 76C with all the load I could throw at it.
What about overclocking?
Before receiving this Seeed Studio tower cooler, I had never overclocked a raspberry pi before. I had never wanted to. I figured it was asking for trouble. Seeed provided some instructions on how to overclock the pi4 to 1750Mhz, 2000Mhz, and 2147Mhz. For this blog post, I actually followed those procedures and overclocked all the way up to 2147, using Seeed’s cooler.
The Blink Blink ICE Tower CPU Cooler
You can buy this cooler at https://www.seeedstudio.com/Blink-Blink-ICE-Tower-CPU-Cooling-Fan-for-Raspberry-Pi-Support-Pi-4-p-4215.html. Fair warning, Seeed provided me one free of charge for evaluation.

Why is it called the “Blink Blink”? Because it has a color change effect on the LED on the fan. You can see this demonstrated in my video. Here is a picture of the cooler mounted to one of my pi4:
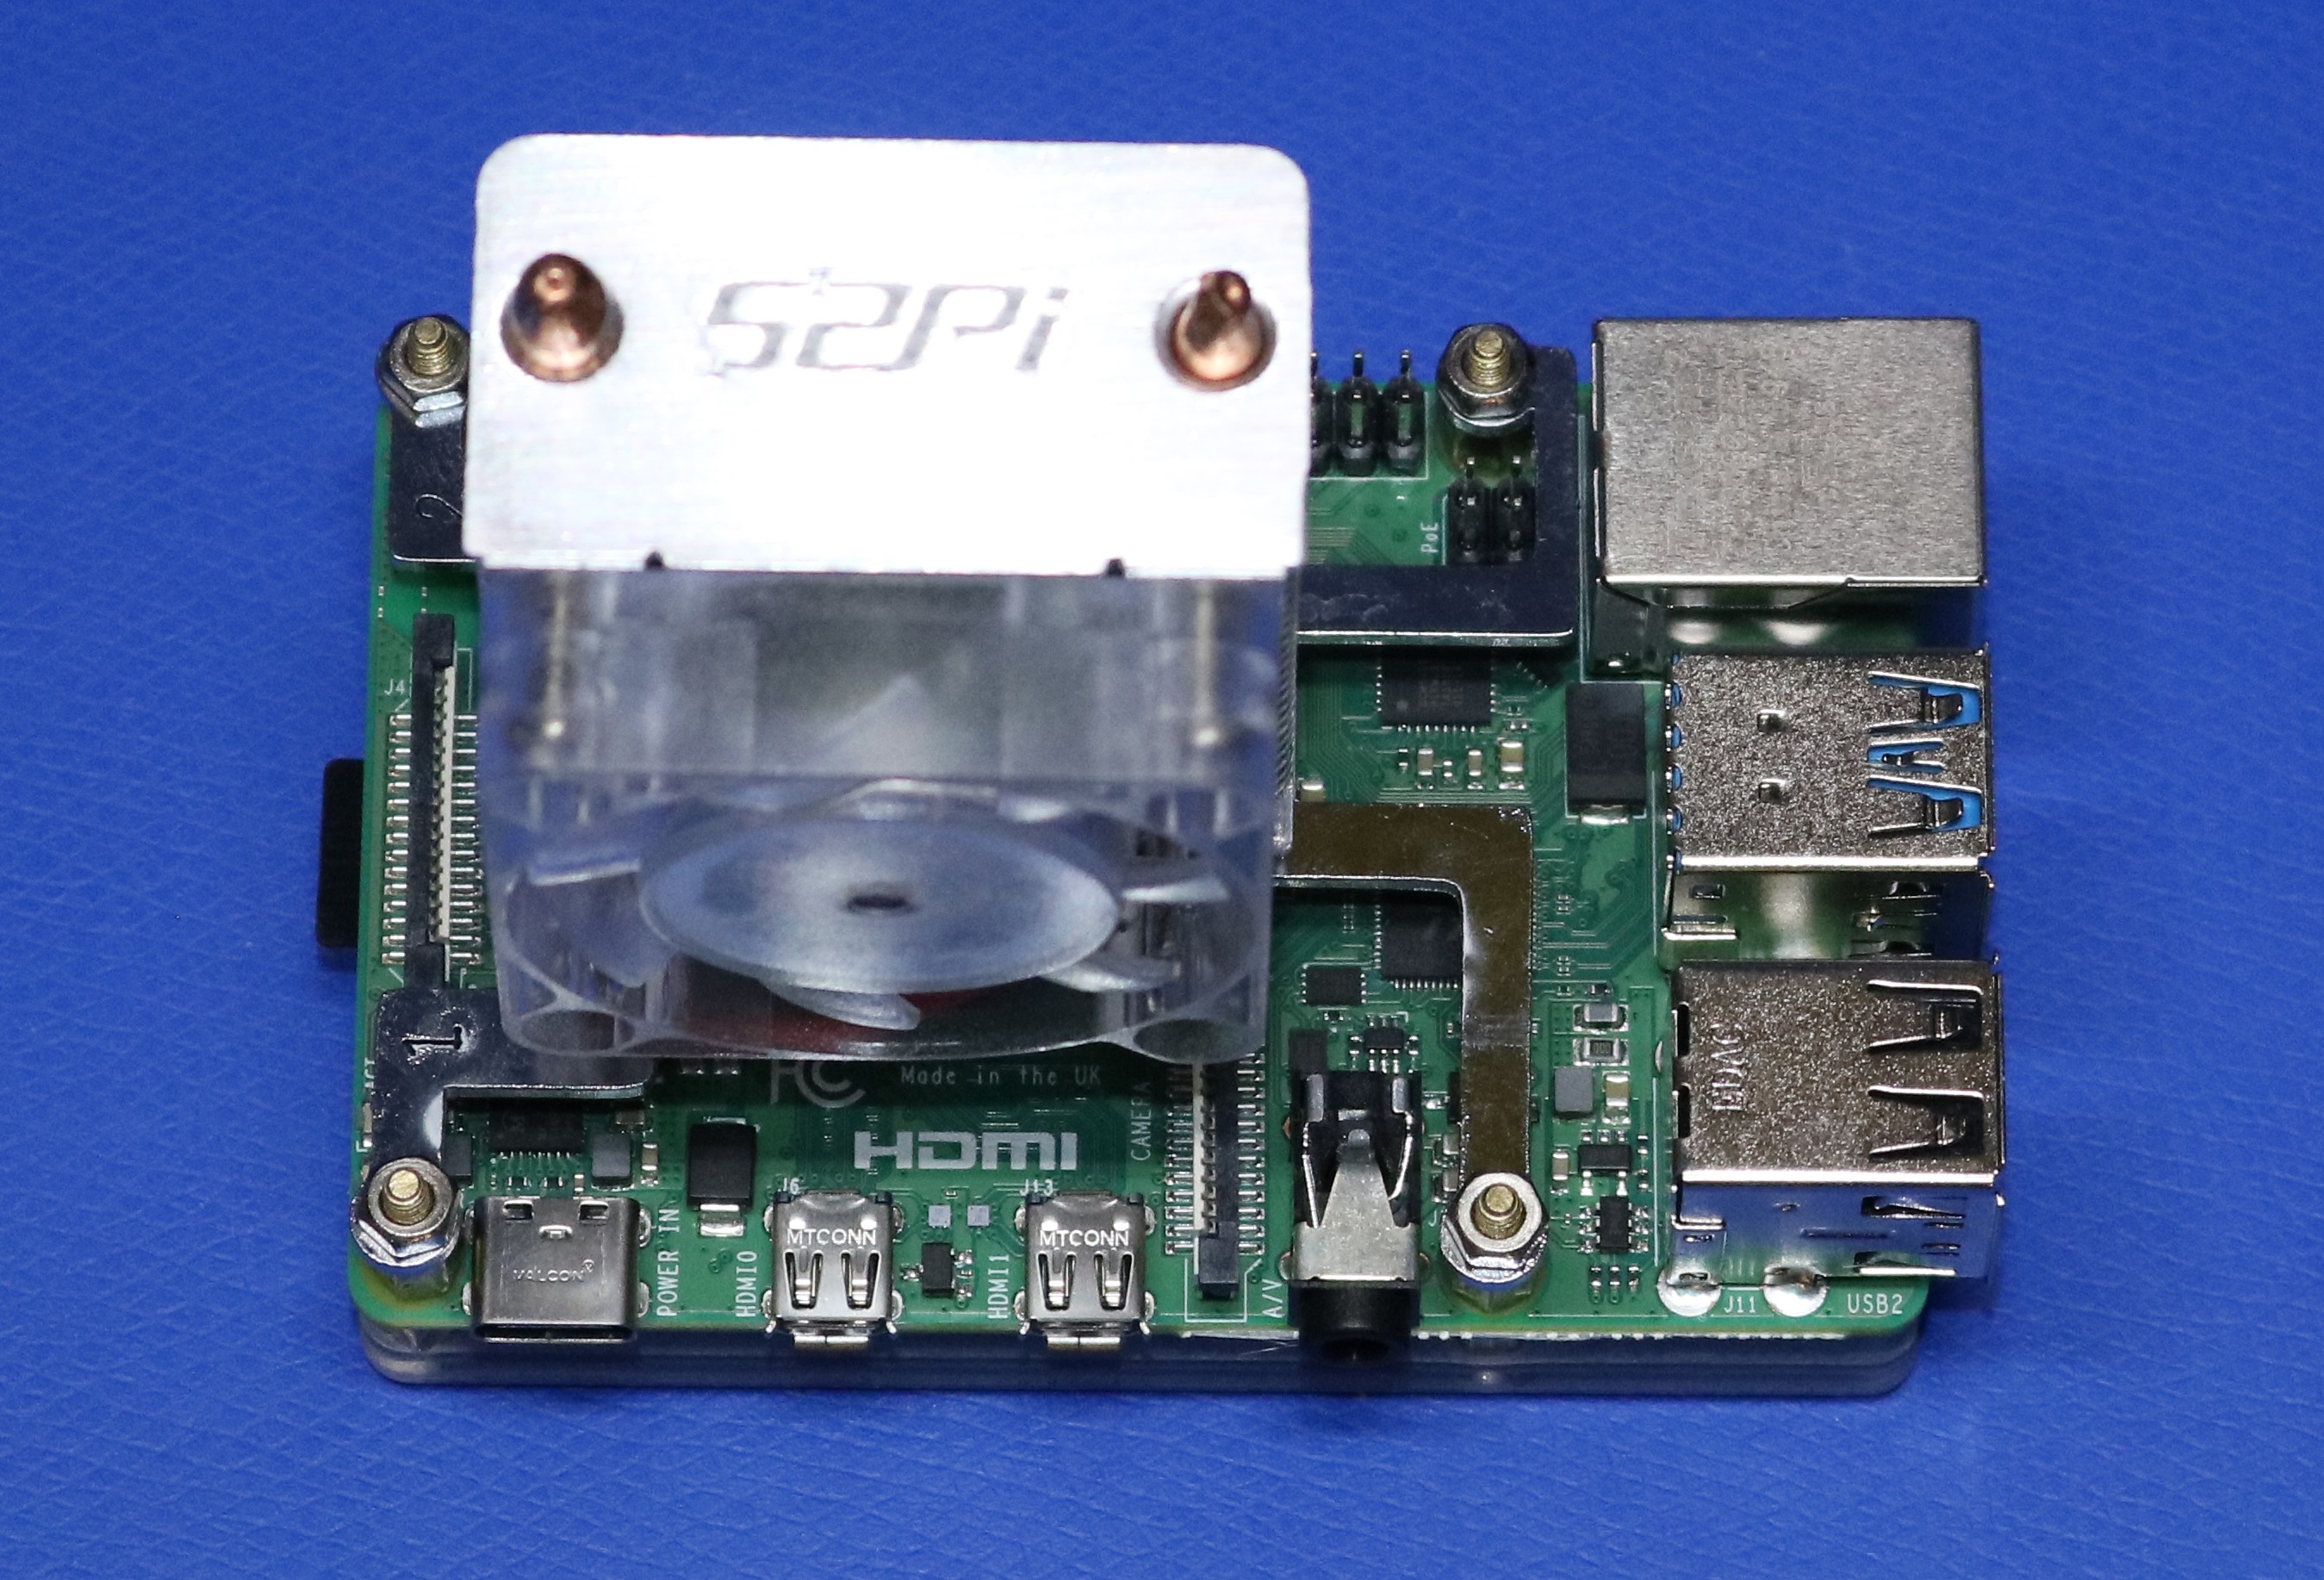
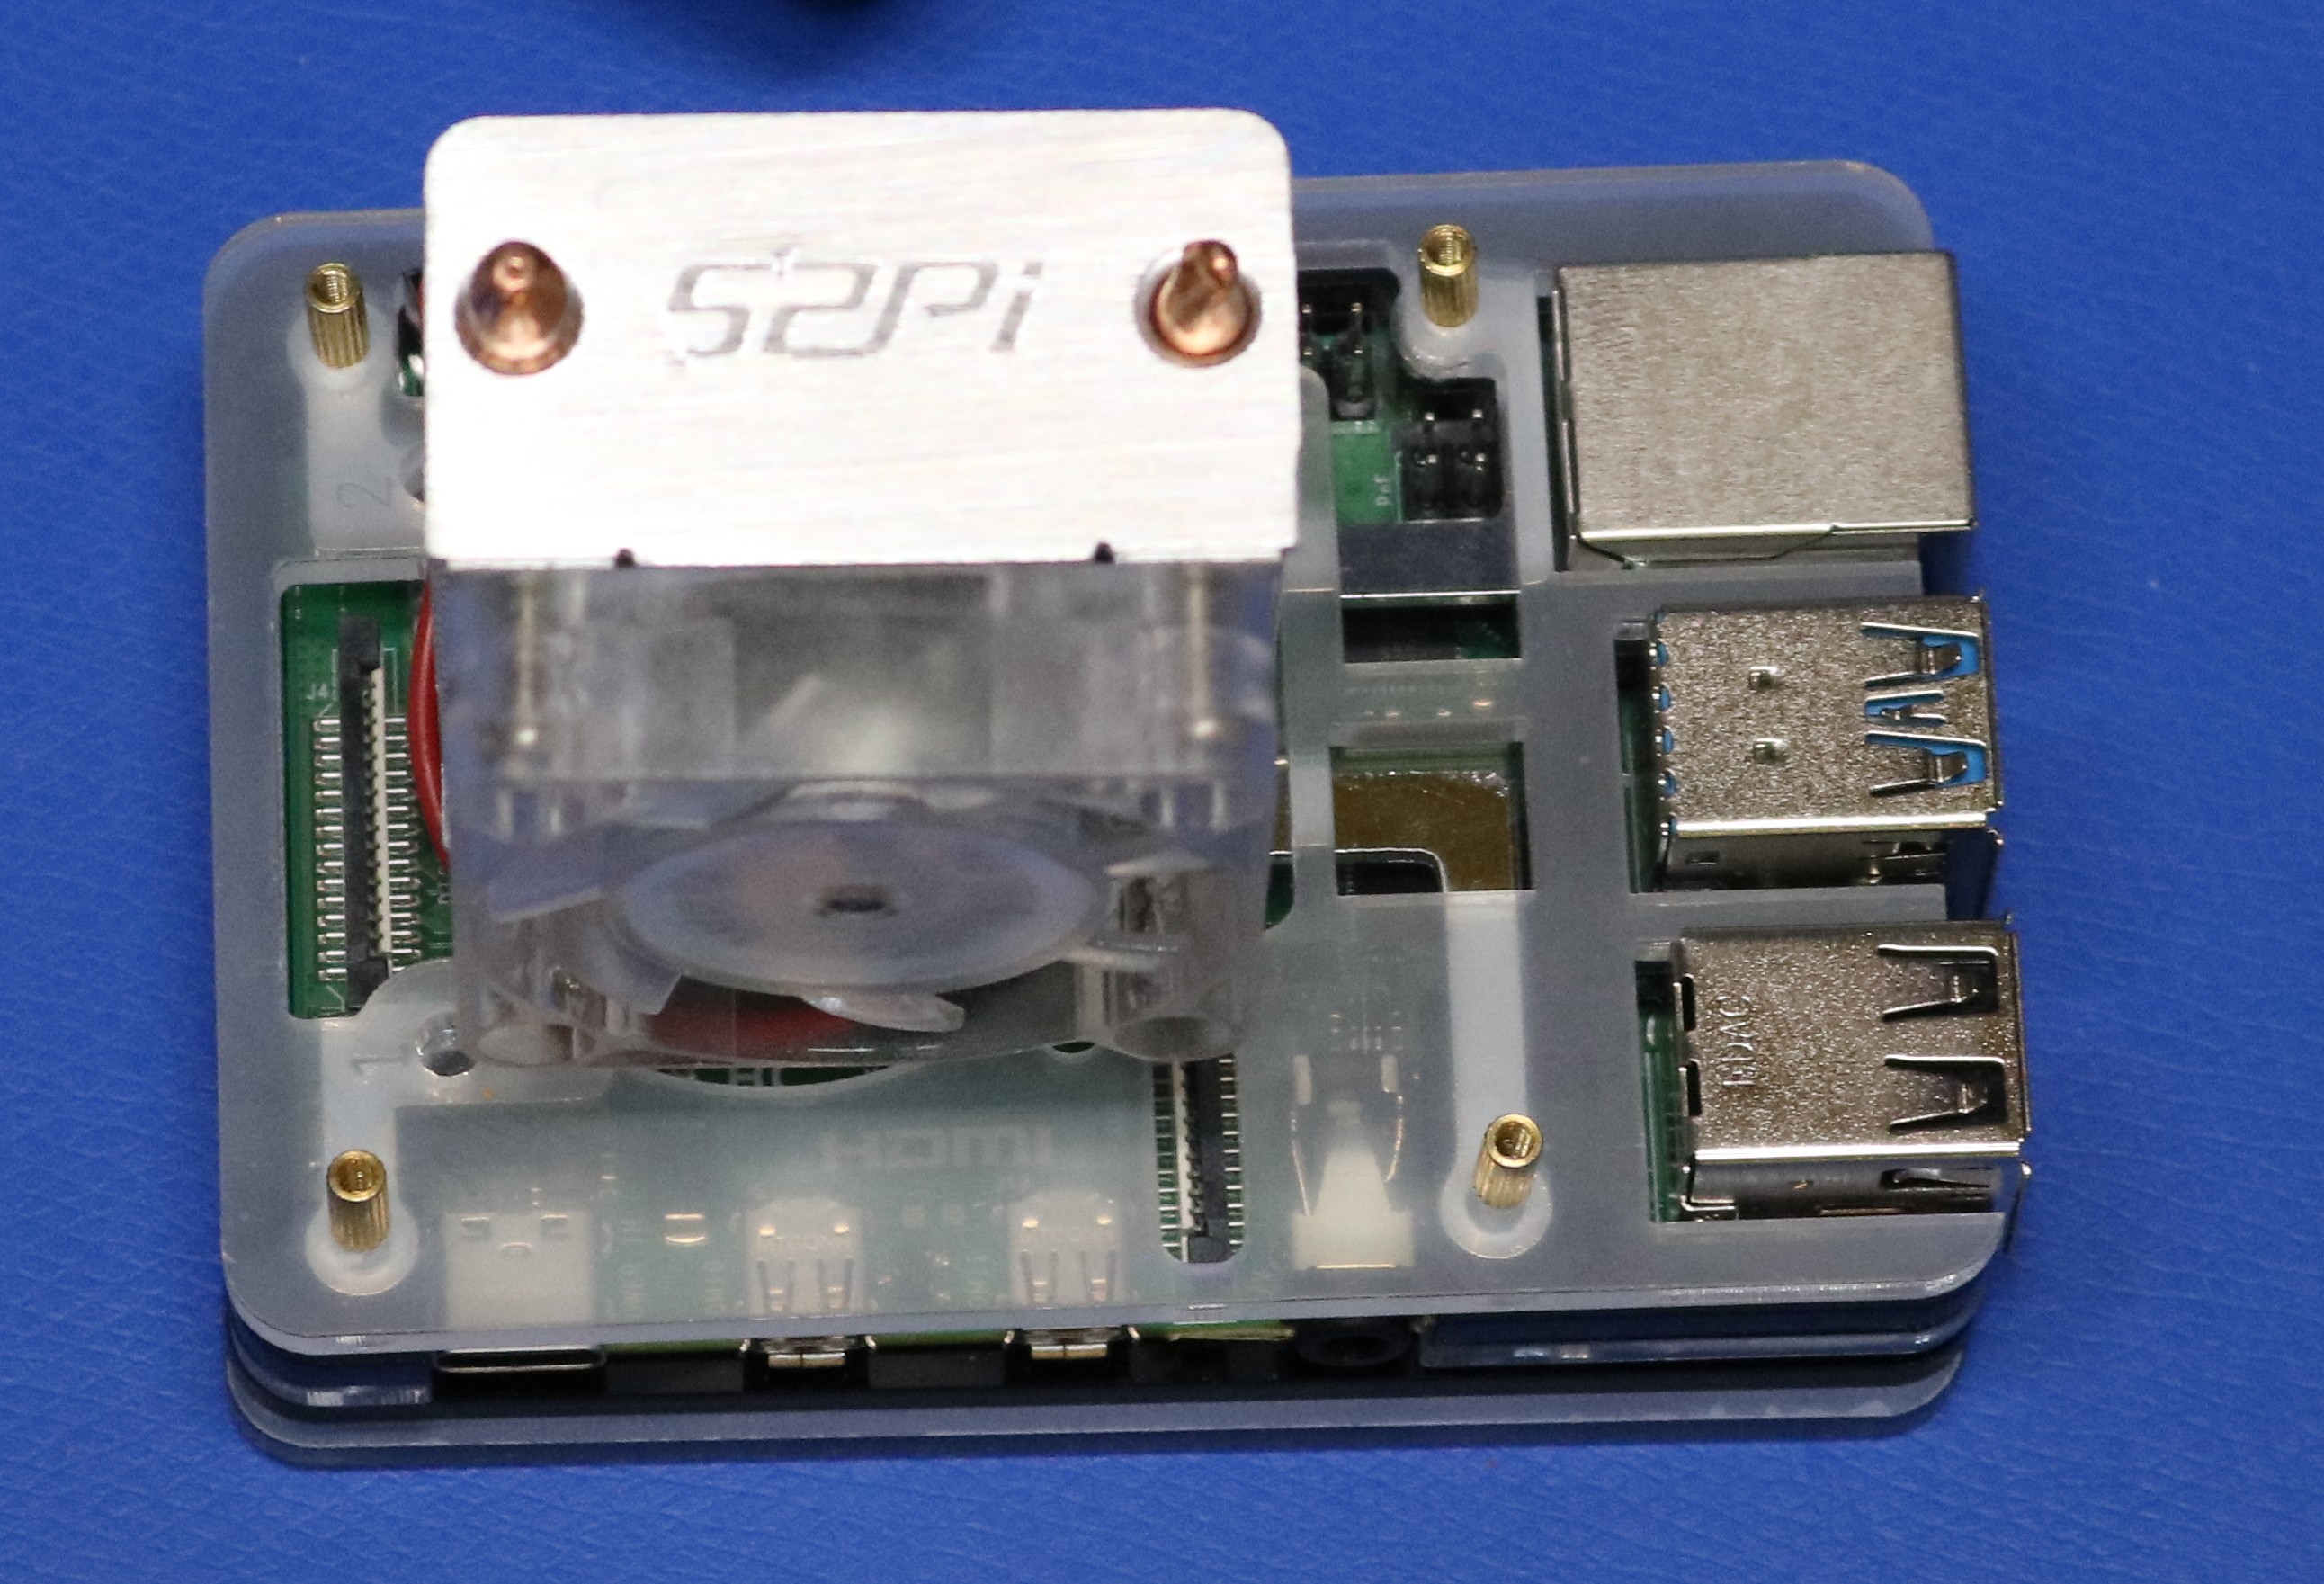
The above picture is mounted on a plastic platform. They also have available a laser-cut slices case, which I also attained for evaluation. Here’s a picture of what the cooler looks like with the slices case:
The cooler was relatively easy to install. It attaches with a couple metal brackets that mount to the pi’s four mounting holes. There is some adhesive thermal pad used between the cooler and the CPU. The CPU chip is the only chip that is directly cooled by the cooler. You can easily disassemble and remove the cooler — the provided thermal pad is not permanent. I found the mount to be stury.
Performance
At idle, the tower cooler yielded temperatures from 29C to 30C. This is a very low temperature, as I said my stock pi4 with no fan idled at 55-57C.
Fully loaded at stock frequences (1.5GHz) the CPU was at about 38-39C.
At 1.75GHz overclock, my CPU was at 41.5 to 42.5.
At 2.000GHz overclock, I was about 48C – 49C.
At 2,147Ghz overclock, the highest I tried, we came in at about 50.5C – 51.5C.
Conclusion
The tower cooler worked as expected, and I was able to overclock all the way up to the GHz claimed by the manufacturer with no issues. Temperatures were well within limits; at the highest overclock I was seeing less than 52C. As stated earlier in this post, this is much cooler than my previous attempted with a small fan alone (and no heatsink). The tower cooler was relatively quiet, and I have no doubt it could be quieted more and still deliver decent performance by connecting it to 3V3 instead of 5V.
If there’s a drawback, it’s the same drawback with all large pi coolers — the tower would be in the way of mounting a hat. Your best bet if you want to use a hat would be to mount it via a short ribbon cable. The GPIO pins themselves are available just fine.
I’m not really an overclocker, so I don’t feel this type of cooler is something I would seek out and not something I really need for my projects, but if I was into overclocking, my experimentation here shows this cooler would suffice.
If you have any experiences, positive or negative, then please do leave a comment on this blog post so others can hear your experience. If you have a novel use for an overclocked pi, then please send a note about that too!