Introduction
This section of the blog is a nuts-and-bolts breakdown of the Z8000 Modular Computer.
For background and an introduction to the project, please see my Blog Post on the Z8000 “Clover Computer”. There’s also a couple of youtube videos that will get you started. The youtube videos are linked to the Blog Post page.
There are several different configurations that can be assembled:
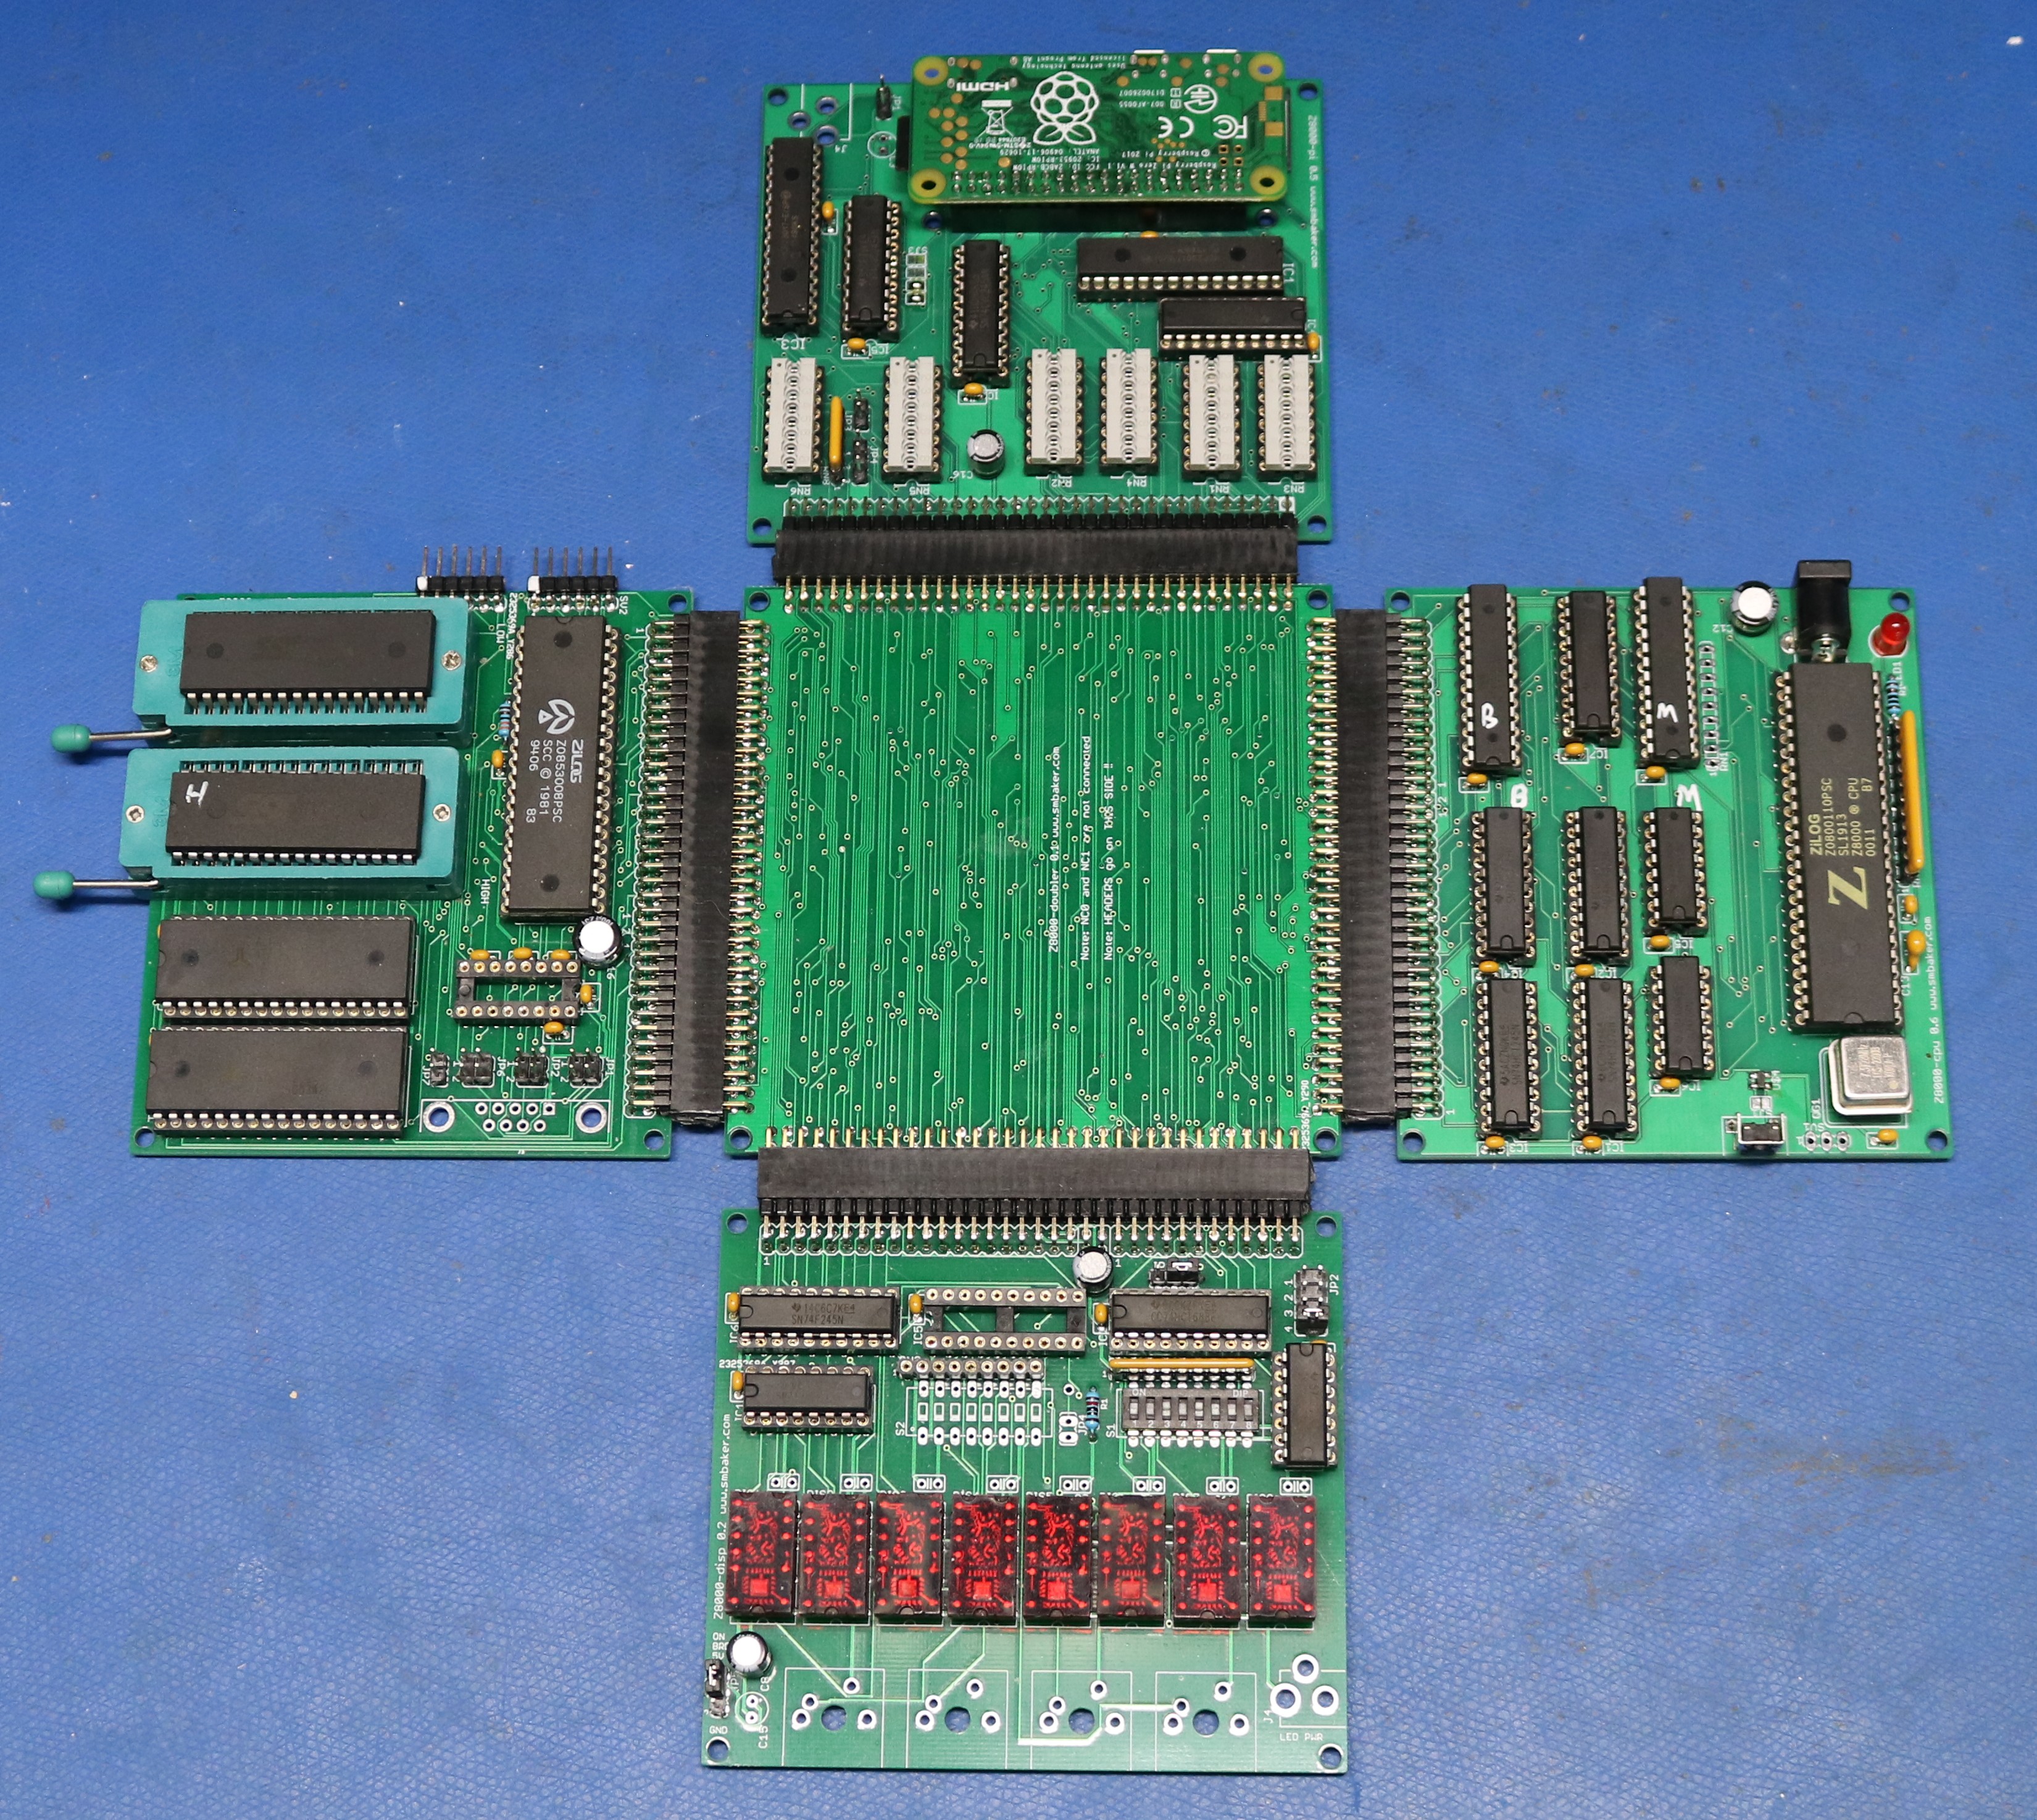
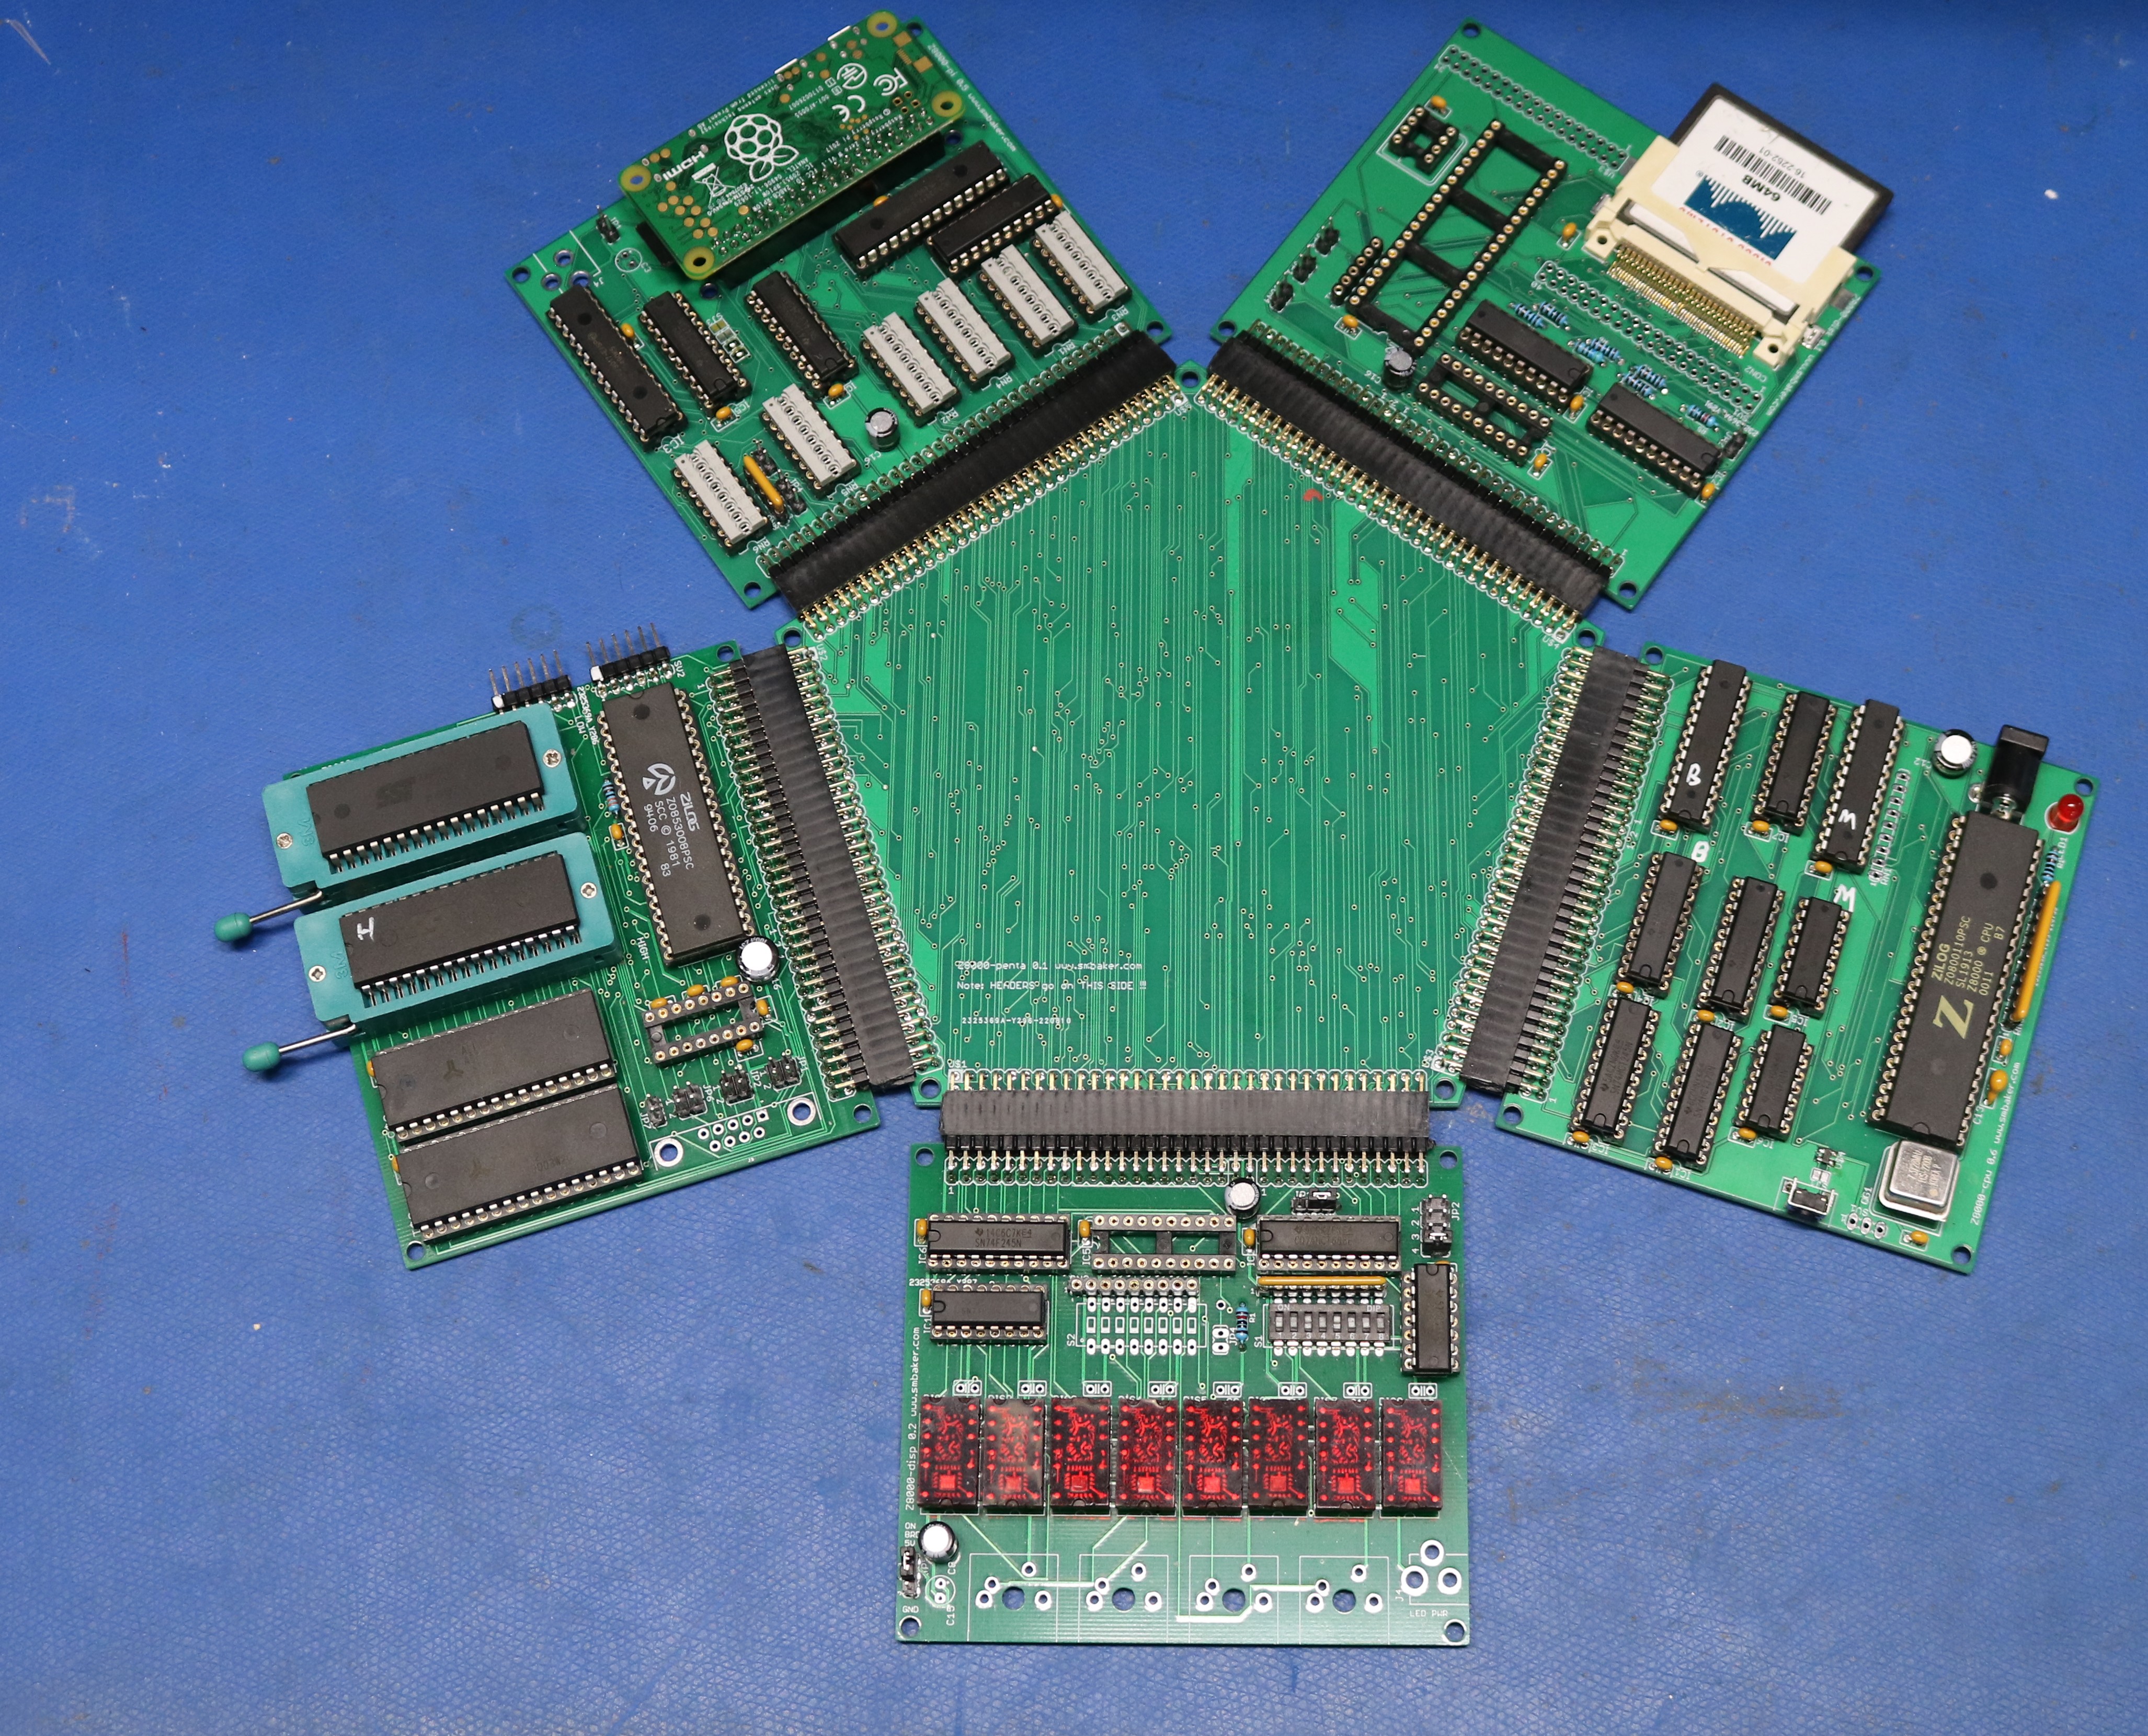
From left-to-right we have the 4-leaf clover, the 5-leaf clover, the brick (TODO: insert image) and the stack (TODO: insert image).
Why not just build an RC2014? It’s simpler!
Because you already built an RC2014, or two RC2014s or even three or more RC2014s like me. You’re looking for something new and different. Something odd and weird. Zilog’s 16-bit Z8000 CPU and its support peripherals certainly fit the bill as odd and different.
Why do I keep saying “modular” over and over in this page? Because like the RC2014, the Z8000 Modular Computer is intended to be built and tested a module at a time. You can start with a simple 2-module configuration using just the CPU and Memory/IO board. Then you can add up to 6 more boards to that, adding storage devices, video output, speech synthesis, etc.
What can you do with it?
The Z8000 modular computer runs CP/M 1.1. Now that might sound old., but CP/M 1.1 is really an amazingly capable operating system for the time. With the Z8000 moduler computer, you can do all of this:
- Edit Source Code
- Compile C programs
- Assemble assembly language programs
- Play Zork, or most other Infocom Z-Engline Games
- Write Basic programs
- Hunt the Wumpus
- Convert English language to phonemes and speak them!
Z8000 Modular Computer Boards
Below I describe the boards that make up the Z8000 modular computer, in relative order of importance, and in the order that most people would start to assemble a computer. For each board, you can click the link to learn more about the board, to find the schematics and gerbers, etc.
CPU Board
The CPU Board contains the Z8001 CPU, address and bus decoding logic, clock generation, and bus buffers and drivers. It also includes the system reset logic. For any modular computer, it’s necessary to start with the CPU Board.
–> Build instructions for the CPU Board
Memory and Serial IO Board
The Memory and Serial IO Board contains 1MB of RAM and 1MB of Flash. The flash is used to store the monitor program, the boot loader, and the CP/M operating system. It also contains a “ROM Disk” that can be used to store CP/M programs, utilities, and user files. 256 KB of RAM is used by the CP/M operating system, to hold the OS itself as well as the running user program. The remaining RAM is used as a RAM disk.
–> Build instructions for the Memory Board
Floppy and CompactFlash Storage Board
The Storage Board contains a compactflash socket and a floppy drive controller. While a basic Z8000 Modular Computer can perform useful work out if its ROMDisk and RAMDisk, it lacks ephemeral storage. The Storage Board adds that — you can install additional software, and you can store and edit user files. Both CompactFlash and Floppy do not need to be used together — either one can be left unpopulated. For most people, I recommend starting with CompactFlash as it’s less temperamental than floppies.
–> Build instructions for Floppy and CompactFlash Board
Display Board
The display board adds eight TIL311 LED displays, an 8-position dip switch, and 4 cherry MX switches. The eight displays together can display any 32-bit value. This board gives you some simple interactive capabilities.
—> Build instructions for Display Board
TMS9918 Video and Keyboard
This board adds a TMS9918 video chip capable of outputting 40×24 graphics to a composite monitor. It also adds a Zilog Z8536 CIO which adds counter/timer capability and keyboard scanning ability. You can attach a typical matrix-style keyboard, such as a RC2014 mini keyboard or a MSX-compatible keyboard. None of that funny business with PS2 commercial keyboards — build your own keyboard the vintage way!
This board adds the ability to use the Z8000 Modular Computer in a fully standalone manner. Without a Video/Keyboard board, you have to use another computer or terminal and connect to your Z8000 over a serial interface. While serial is arguably more convenient, standalone computers are also fun.
The counter/timer also allows uptime to be tracked, and to perform time-based benchmarks.
–> Build instructions for Video and Keyboard board
Raspberry Pi Bus Supervisor
The RasPi board adds two features: 1) the ability to pause the Z8000 and replace the CP/M BIOS in RAM, and 2) the ability to have a shared emulated disk drive between your Z8000 and Linux computer. Both of these are a convenience for software developers. Rather than burning a new Flash IC every time you make a BIOS change, you can simply push a new BIOS image. You can easily copy files back and forth using the emulated disk.
–> Build instructions for the Raspberry Pi Bus Supervisor
Speech Synthesizer
What would a computer be without the ability to talk? This board speaks for itself.
— Build instructions for Speech Synthesizer Board
Interconnection and Backplanes
The boards are designed so that you can stack them, sort of like raspberry pi hats. You can find 2×40 (80-pin) stacking headers on ebay or similar places. You’ll need to cut them down to 2×34 (68 pin). You could also use a couple of smaller stacking headers together, such as a pair of 2×17 (34-pin).
The boards are also designed so that you can connect them via a backplane of some sort. I have designed backplanes that take traditional vertically-installed boards (i.e. like an RC2014), and I have horizontal backplanes that I called the “clover boards” in the video and blog post.
To interconnect the boards, you’ll need lots of 2×40 (80-pin) right-angle male headers. Find those on ebay or similar. If you’re building a horizontal clover-style board then you’ll need a pile of 2×40 (80-pin) right-angle female headers. You can also find those on eBay. If you’re using the rectangular / vertical backplane, then you need the pile of female vertical headers.
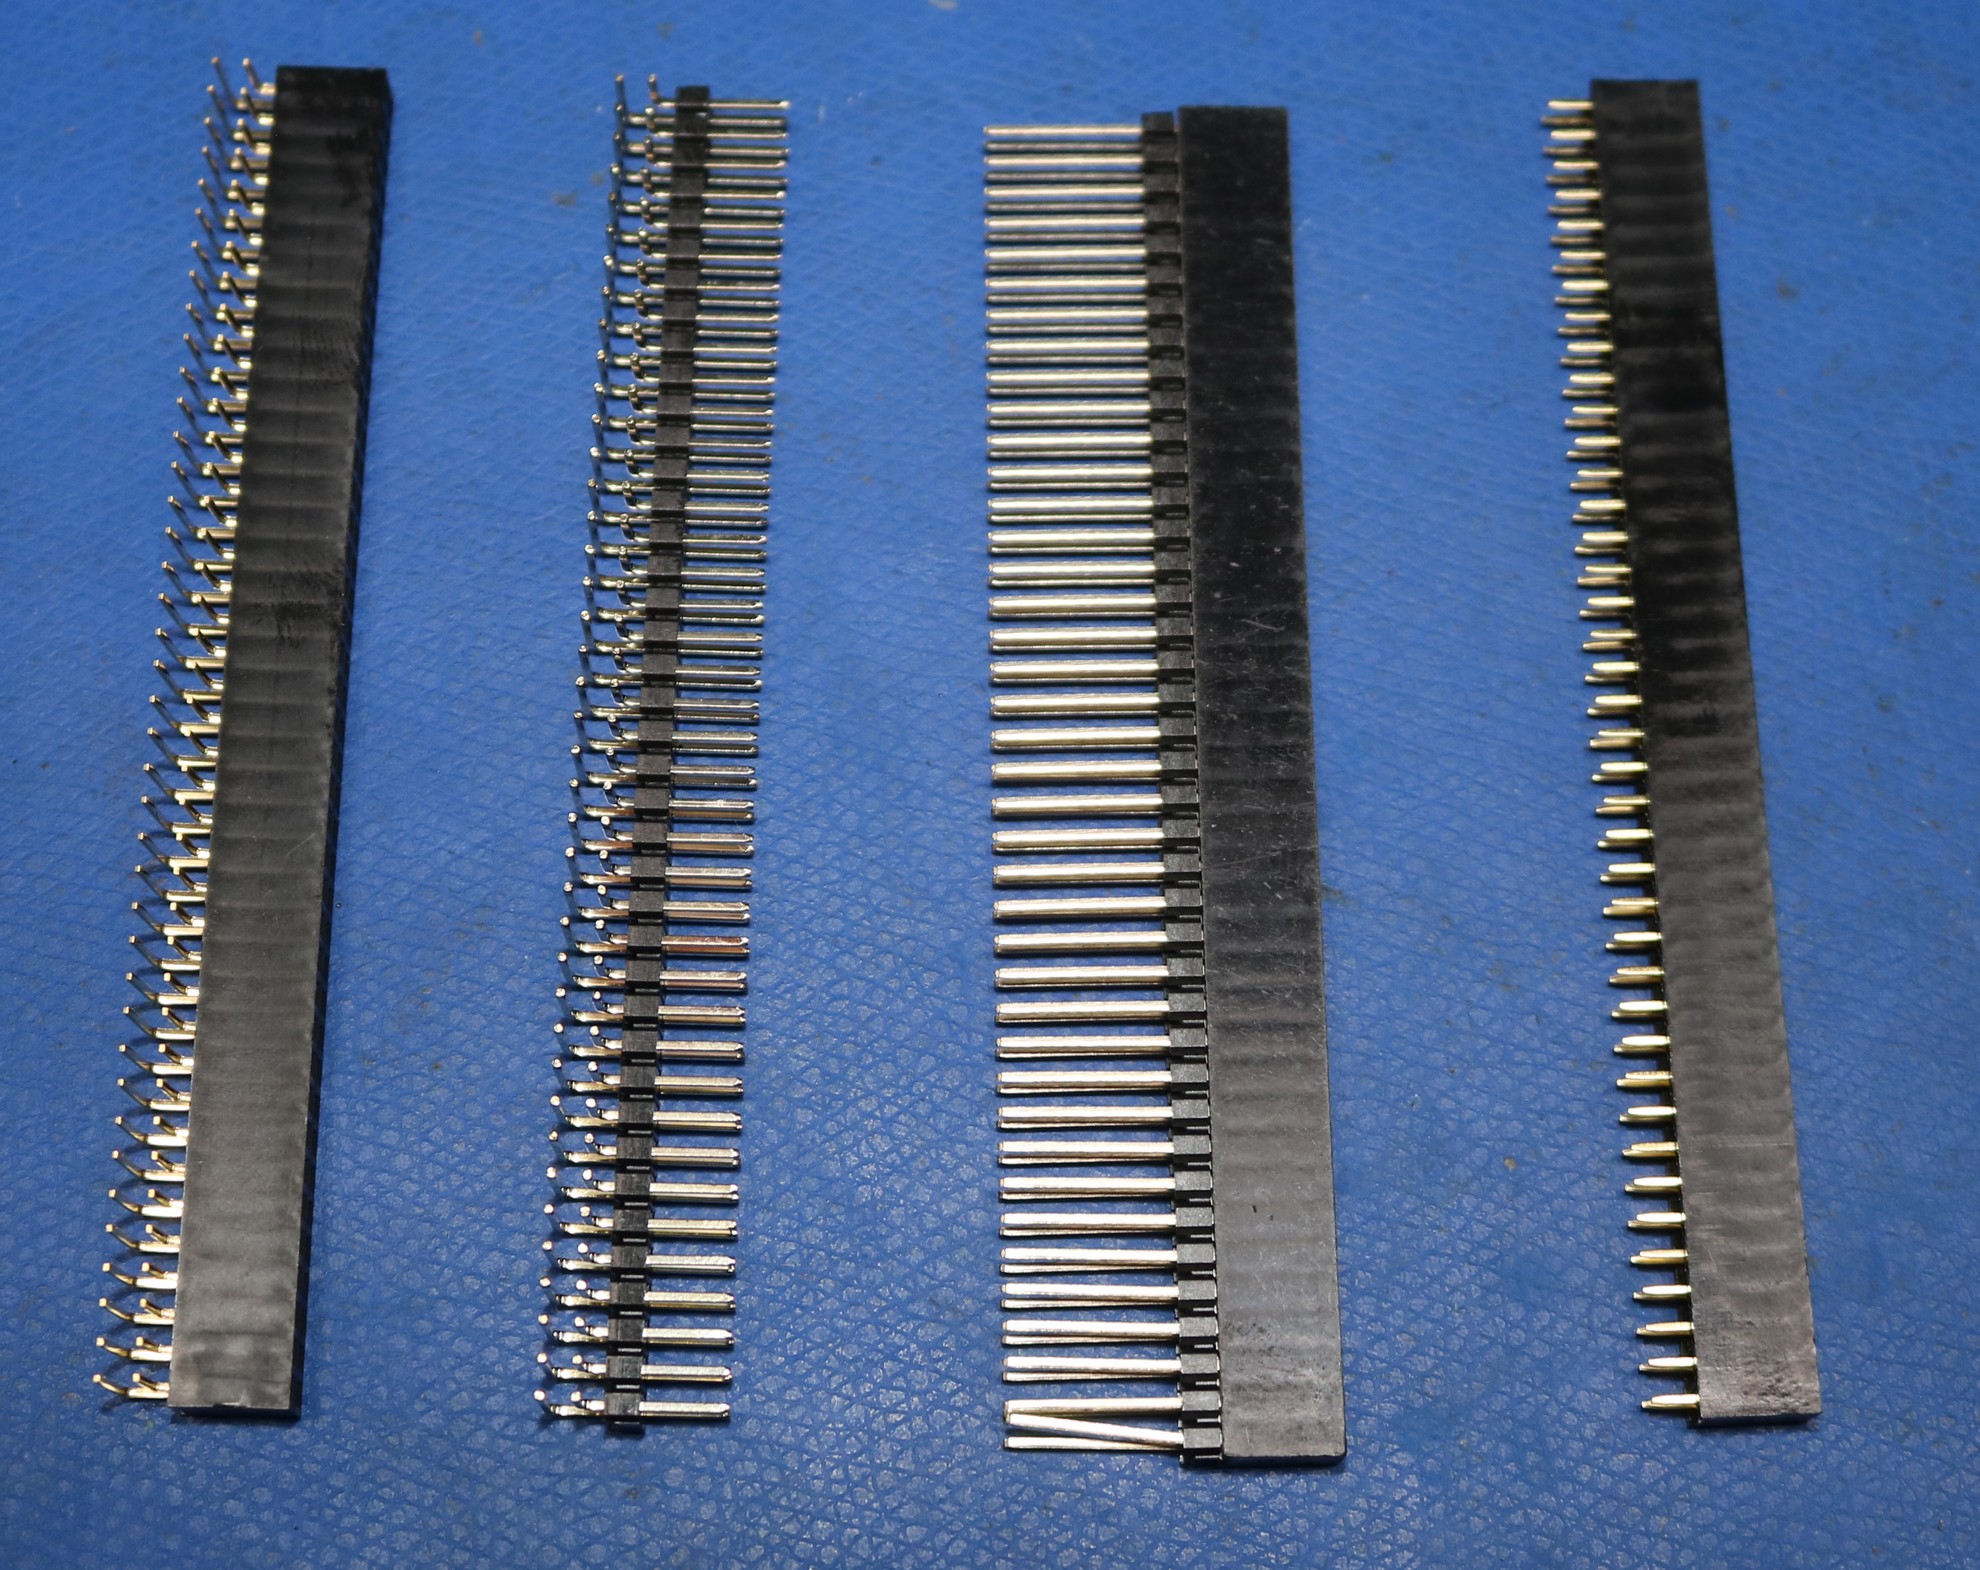
To cut them, use a decent pair of flush cutters. As always, use eye protection — you don’t need a chunk of something flying into your eye.
Burning the flash images
The flash images are located in the github repo. There are two images, “low.bin” and “hi.bin”. This is a 16-bit computer, right? So you need 16-bits worth of image. The CPU board is marked low and high respectively.