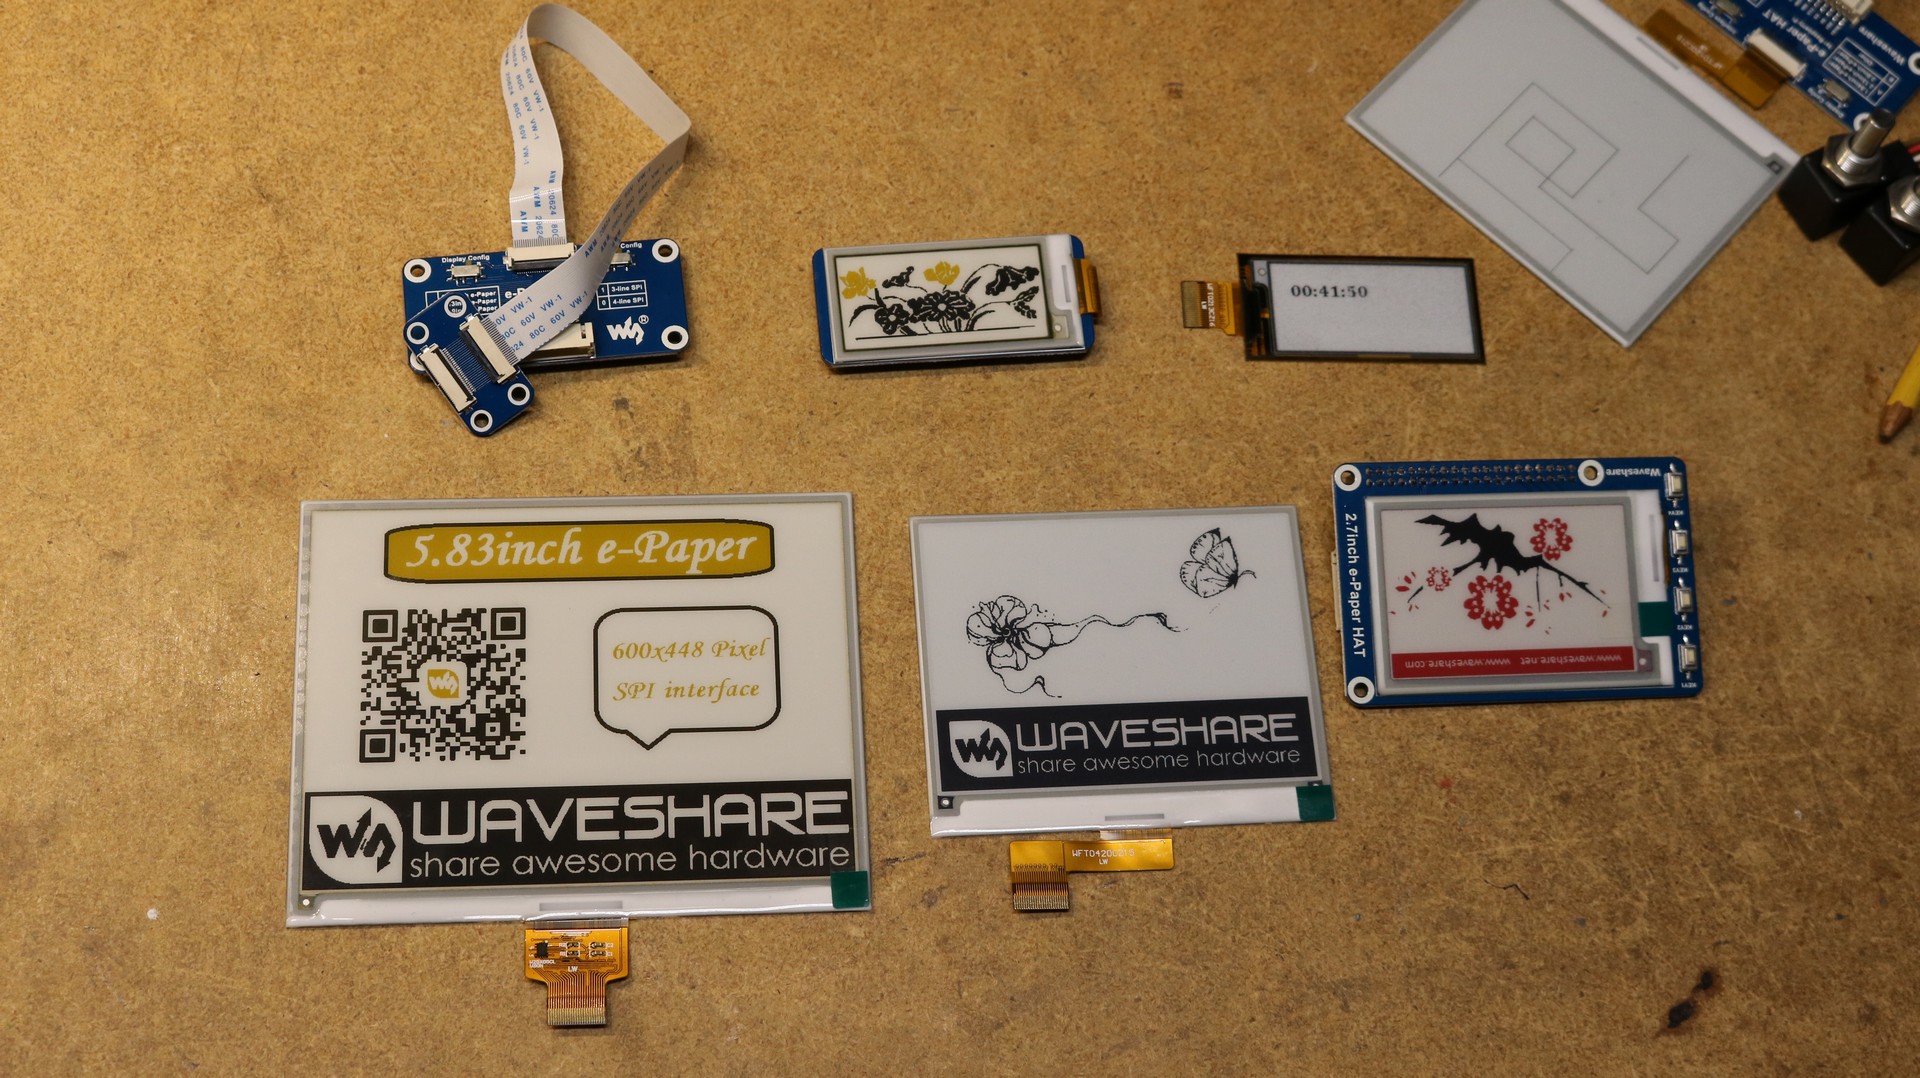
In this video I review some Waveshare and Gooddisplay e-paper displays, and build an e-paper equivalent of an Etch-a-Sketch
Introduction to e-Paper displays
e-Paper (aka e-ink) displays are a fascinating new technology that most people will be most familiar with from the proliferation of Kindle and similar reading displays. The unique property of the e-paper display is that it retains its image even with power not applied. This means that it can require very low power to operate the user interface of an e-paper device, since power only really needs to be applied to the display when the content is actually changing. For a reader, the user spends most of his or her time reading the page, and page flips are a relatively small fraction of the overall experience, so it’s a perfect fit.
e-Paper displays have excellent contrast even when viewed in bright sunshine and are generally not backlit as LCDs are. The original kindles had no lighting whatsoever built into them, and one had to add a third-party light to read them in the dark, just like one would read a paper book. At one point I owned a kindle that snapped into a case that had a popup LED that pointed down at the display, illuminating it. Eventually frontlit e-paper displays were invented and my current generation kindle is frontlit, with a special light distribution layer that sits above the e-paper layer.
e-Paper displays for the Hobbyist
I’ve been fascinated by e-paper technology for a while and I sought out hobbyist-friendly e-paper vendors that sell products I could use with a raspberry pi or arduino. The primary vendor I came across was Waveshare. They sell a variety of e-paper displays of different sizes and shapes, even flexible displays. There are displays attached to a Raspberry Pi hat, and there are displays that connect to separate breakout boards. You can buy displays with no breakout board whatsoever, just a flex cable, and mount the connector for the flex yourself if you so desire.
There are both 2-color (black and white) and 3-color (red black and white, or yellow black and white) displays available. I recommend sticking with the 2-color displays unless your application specifically calls out the need for a third color. I’ll explain why in the following section.
In addition to Waveshare, another vendor is Gooddisplay, and you can find them on AliExpress. In my opinion, Gooddisplay doesn’t have the variety of breakout boards that Waveshare has, but they sell many displays that are compatible with the Waveshare breakout boards.
The common theme of all these hobbyist-friendly e-paper displays is that they use the SPI bus. SPI typically uses four data lines: MOSI, MISO, SCK, and CS. These e-paper displays do not use the MISO pin, but they do add several more pins: DC, BUSY, and RST. DC is a data/command select line, BUSY tells whether the display is busy, and RST is a reset. So plan on dedicating 6 IO pins to implement the full interface. It might be possible to omit the RST or BUSY — I haven’t tried and I’m not sure.
e-Paper refresh
Jumping into my project, I had little knowledge of how the technology actually worked. What I found was that drawing on an e-Paper display is a slow process, sometimes excruciatingly slow. Note to self: Do the research before buying the hardware!
Most of what I learned about how the displays work came from Ben Krasnow’s video on improving e-paper refresh. Each cell in an e-Paper display is made up of little colored ink particles of different charges. By applying the proper voltages, you can make particles of one charge float to the top and particles of the other charge float to the bottom. For reasons that are perhaps too technical to go into in this blog post, it doesn’t suffice to simply hit the display with a DC voltage and leave it there — you’ll either end up with ghosting issues, or you can permanently damage the display.
The displays implement an internal Lookup Table (LUT) that specifies various voltage and duration steps. There are LUTs for black-to-black, black-to-white, white-to-black, and white-to-white. The default LUTs on a black and white display may take a couple seconds to refresh. This is regardless of whether you change a single pixel or change the entire display. You can shorten the LUTs so that fewer voltage transitions are used, at the possible ramification of shortening the display life or introducing ghosting artifacts. It’s possible to get the refresh rate up to two to three frames per second. The Ben Krasnow video I linked earlier goes into great detail about this.
For 3-color displays the process is even slower. We only have two charges (+,-) but we have three particles (red, white, black), so it doesn’t suffice to simply assign each particle a charge. The speculation is that different size particles are used, so you might for example have small white particles and larger red particles, and by the appropriate set of voltages applied to the cell, you can sort the particles so the larger red ones end up on top of the smaller white ones. The bottom line is that the 3-color displays can take 12 seconds or more to do a refresh display. Yes, that’s right — 12 second refresh on a 3-color e-Paper. Not only that, but it’s a a distracting process of flickering and flashing as this happens. Whether it can be sped up, I do not know. For this reason, I recommend avoiding these 3-color displays unless you specifically have a need for a 3-color display.
Making an e-Paper Etch-a-Sketch
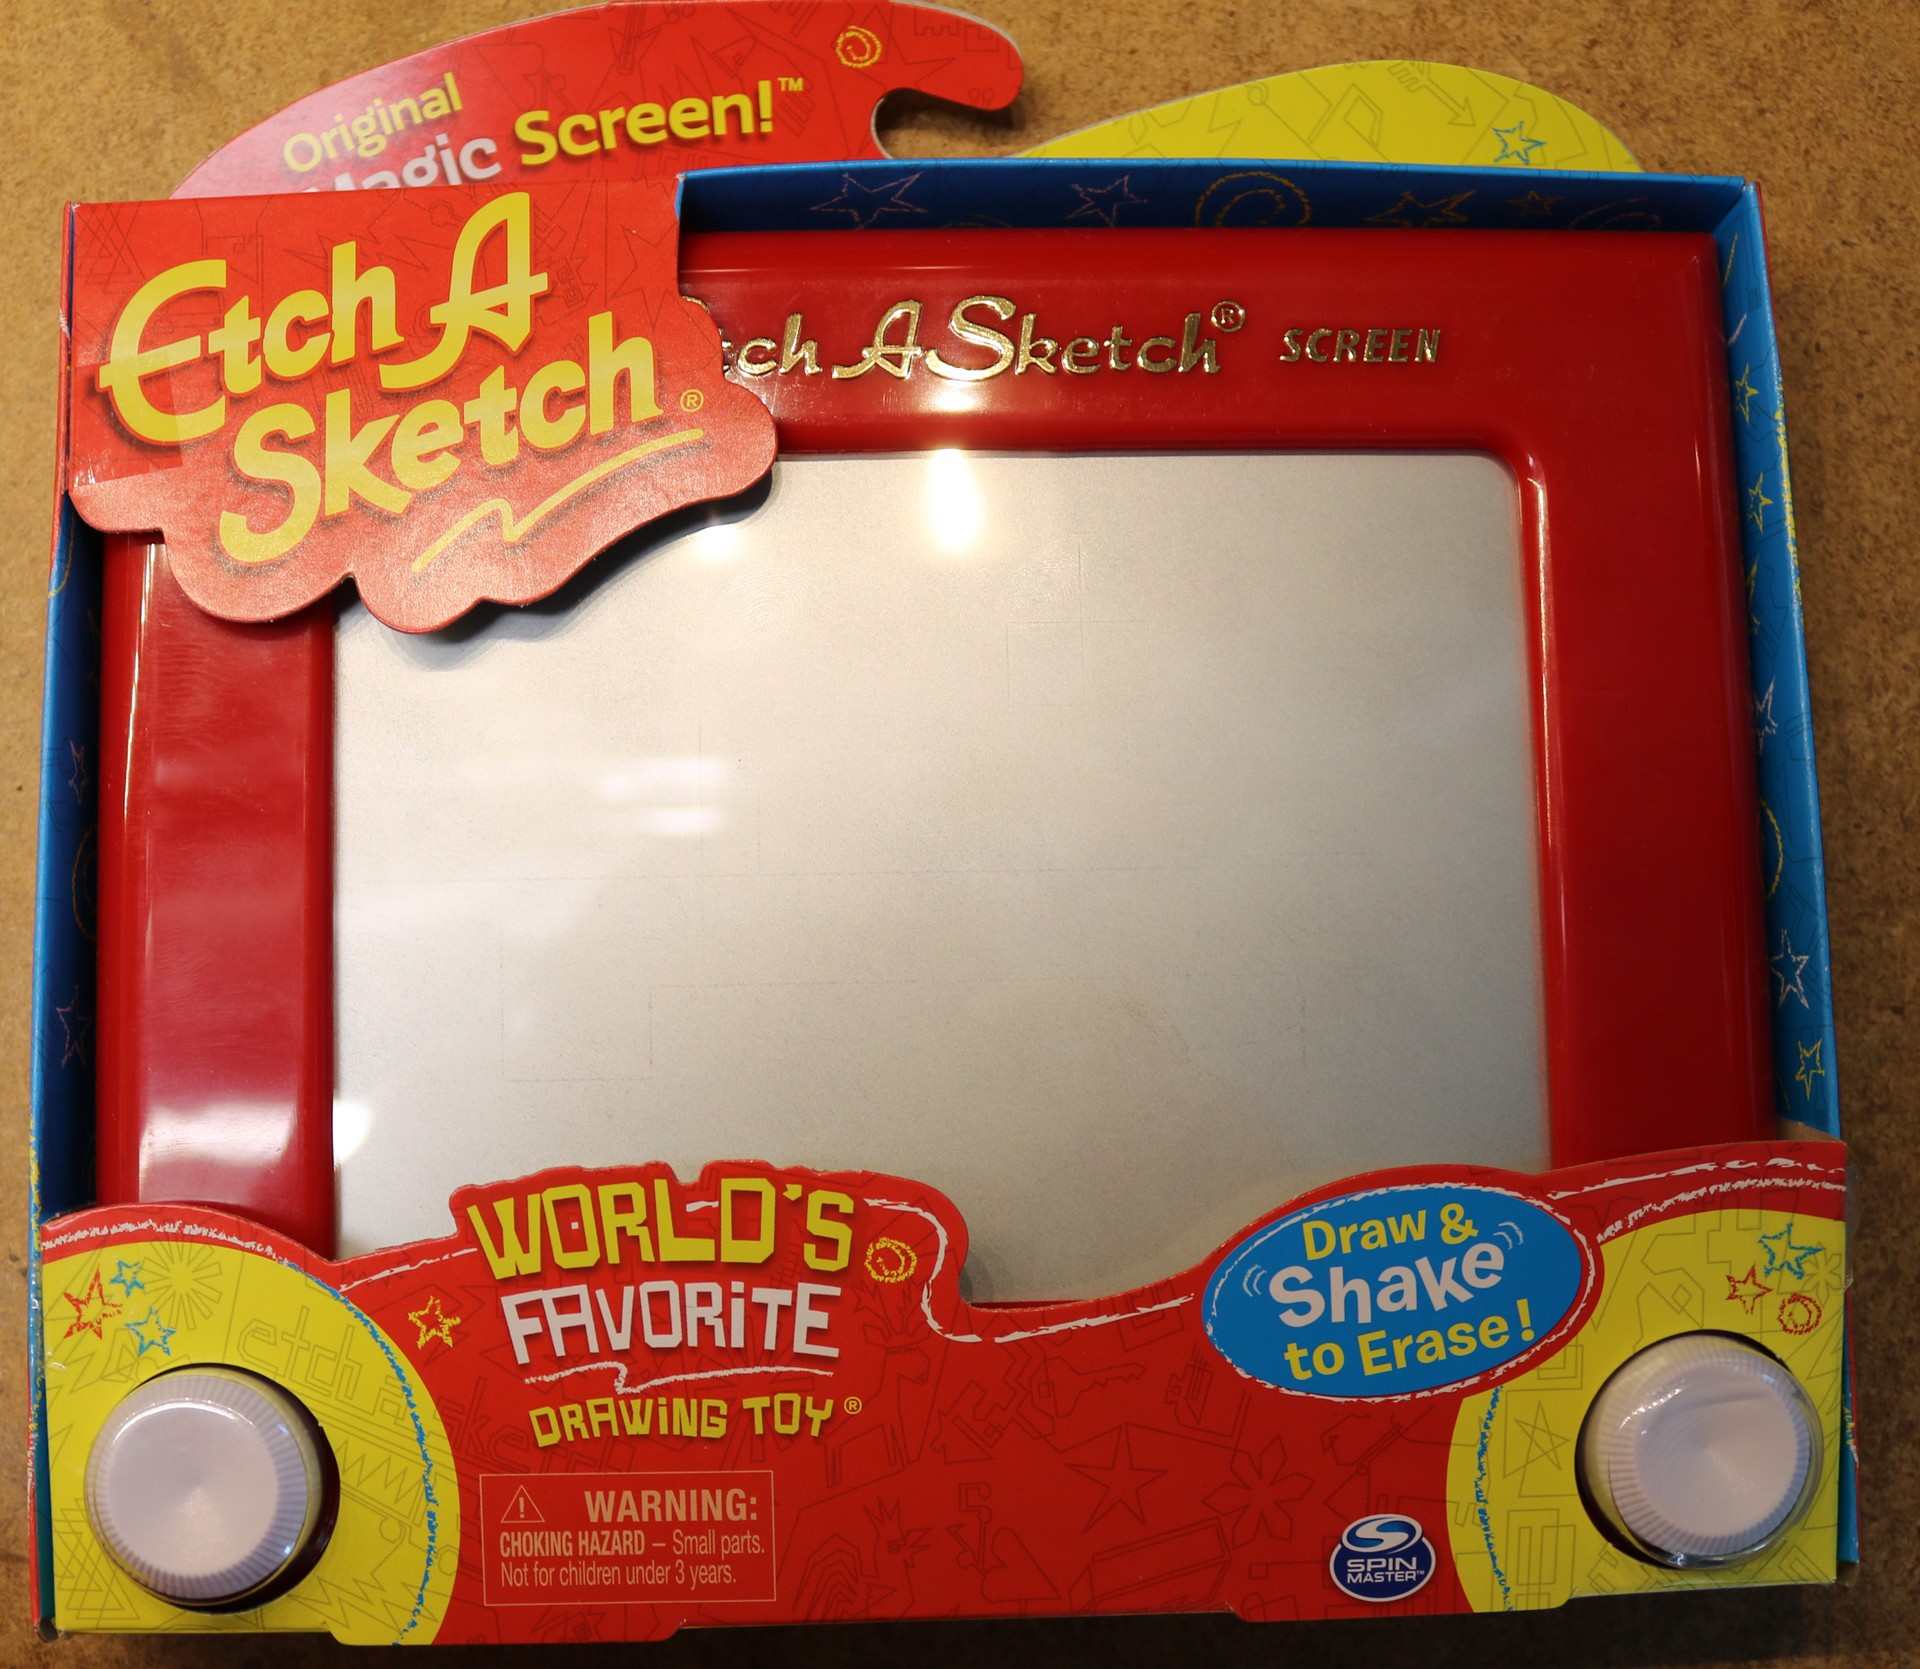
Now, to the actual project. Here is an Etch-a-Sketch:
The Etch-a-Sketch is a simple device that has been around for decades. It has two knobs — an X knob and a Y knob that operate a plotter-like device. Contrary to public misconception it’s not using magnetism to draw on the screen, but is actually uses pointer to physically push away aluminum powder. By manipulating the X and Y knobs you can draw on the screen. Shaking the Etch-a-Sketch restores the blank screen. Typically this is a kids’ toy for simple doodles, but some folks have actually created elaborate art.
Let’s see if we can make one of these using an e-Paper display. If you read all the background above, you should know that this is probably a questionable idea. e-Paper displays have inherently slow refresh whereas an Etch-a-Sketch is a highly interactive device. But let’s do it anyway.
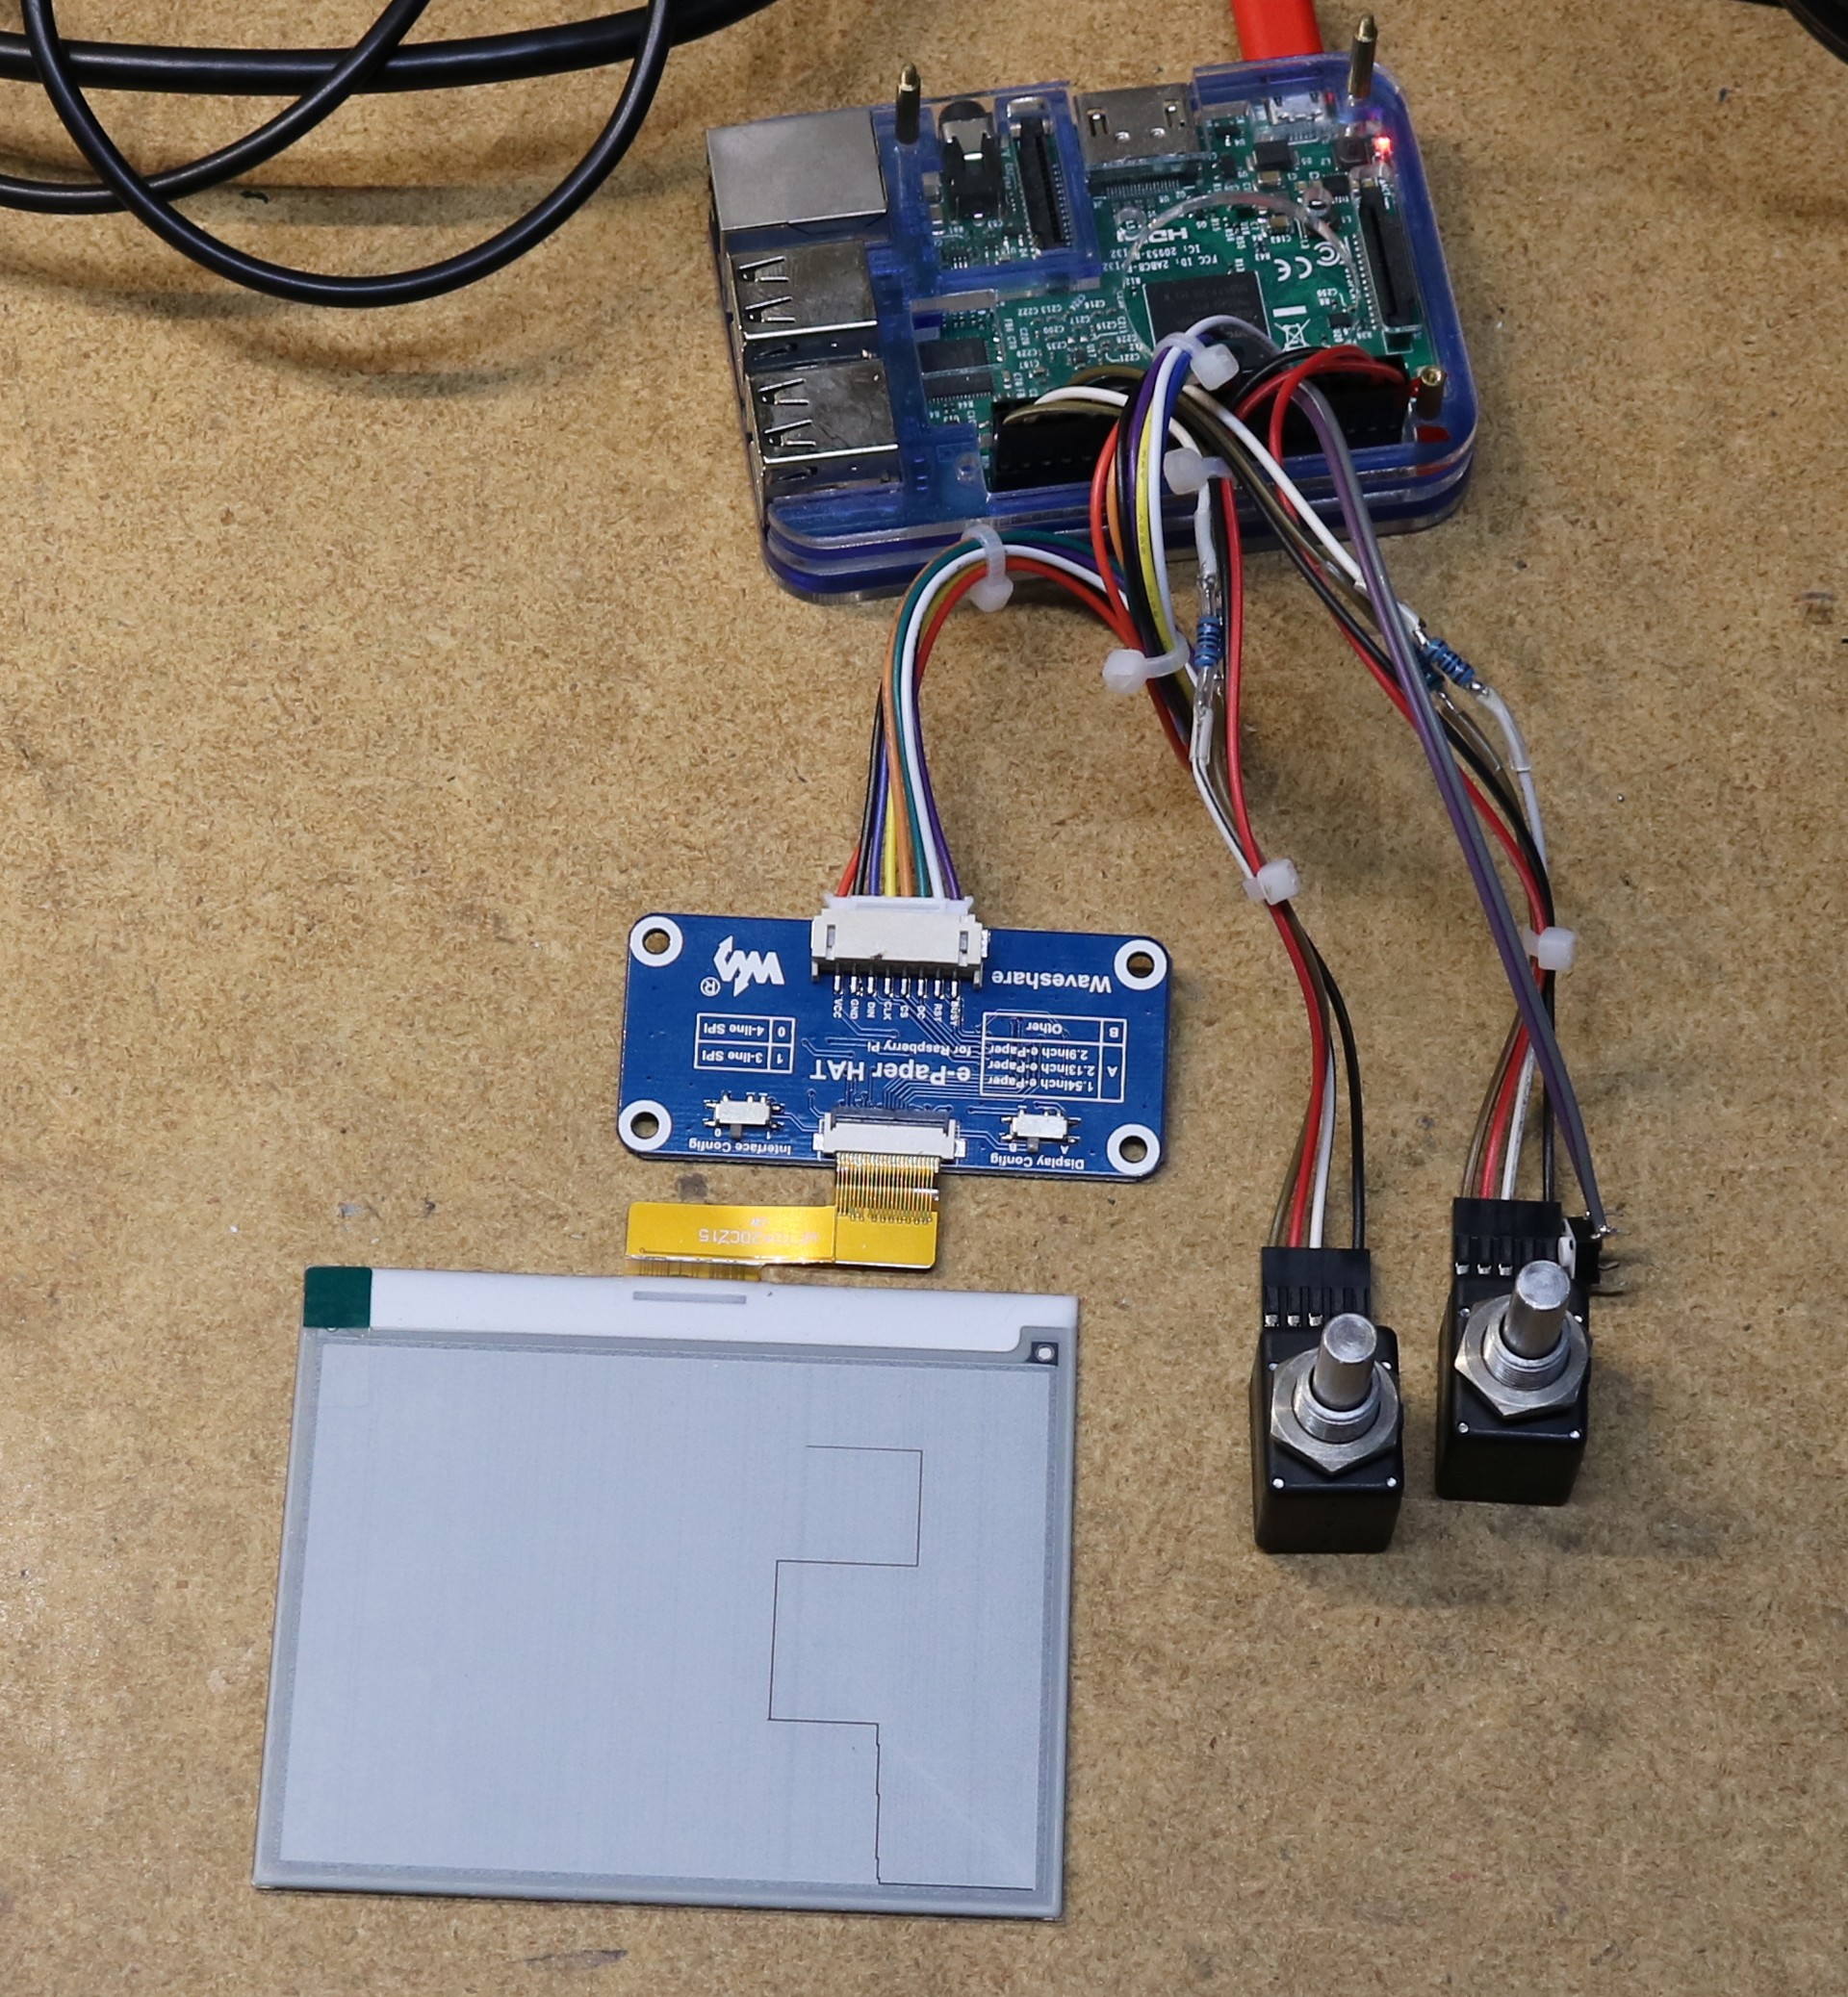
Above you can see my prototype. I’m using a 4.2″ e-Paper display from Gooddisplay, together with the Waveshare breakout board. I have a couple of ENS1J-B28-R00128 optical encoders that I attained on eBay. I specifically chose these encoders instead of traditional electro-mechnical encoders due to the high numbers of pulses per revolution. A typical electro-mechanical encoder will net about 24 pulses per revolution. The optical encoders I bought on ebay are 128 pulses per revolution. Our 4.2″ ePaper has 400×300 pixels. To traverse the major axis would require 16 full turns of the electromechical encoder but only 3 turns of the optical encoder.
The hardware is so simple that there’s not much more to say. The encoders are connected to GPIO pins of a Raspberry Pi. Note that there are resistors inline on the encoder outputs as the encoders are 5V and the Raspberry Pi uses 3.3V GPIO. The e-ink display is connected to the SPI bus.
Software
The software is available in my github repository at https://github.com/sbelectronics/sketch. You’ll also need smb-pi-lib at https://github.com/sbelectronics/smb-pi-lib which contains the encoder functions.
I’ve modified the Waveshare python library for the 4.2″ display to use Ben Krasnow’s fast refresh technique. There’s a main loop that continuously scans the encoders for changes, builds up a list of “points” that would be set by the encoder motion, and then draws those points on the e-Paper screen. Due to the slow refresh rate, it’s entirely possible that multiple points end up going into a single refresh.
Future Work
As time and finances permit, my eventual goal is to do the following:
- Add a case, for ease-of-use and portability
- Add a LiPo battery system so that it doesn’t require a power cord
- Use a accelerometer to implement shake-to-erase
- Add some buttons so favorite drawings can be stored on the Pi and later retrieved
Resources
- sketch project repository: https://github.com/sbelectronics/sketch
- smb-pi-lib github repository: https://github.com/sbelectronics/smb-pi-lib
- Hackaday article on Ben Krasnow’s fast refresh technique: https://hackaday.com/2017/10/31/ben-krasnow-hacks-e-paper-for-fastest-refresh-rate/


Wow, nice project a little overkill for a simple device like a Etch-a-Sketch! 😉
The encoders wouldn’t work with 3.3V? Did you try? Could potentially saved on those ugly in line resistors…
The datasheet said 5V +/- 0.25V supply. I didn’t try 3.3V. You’re right that would have been a bit less complexity.
Scott