How To Build a Shortened VW Dune Buggy
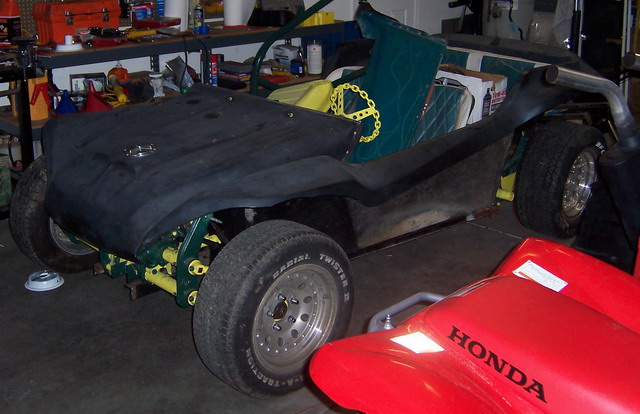
Here are a couple of pictures of the buggy as I purchased it from the previous owner. I was really only interested in the frame, but the wheels, tires, and other items were an added bonus.
 |
 |
Unfortunately, the frame was shot. The buggy had been in some kind of a wreck, and the weld on the tunnel had fractured, and whomever tried to fix the thing had welded it back together all crooked. The rear end was out completely out of alignment, and visibly twisted. I figured it’d be easier to just start with a new pan, then to try to fix the existing one.
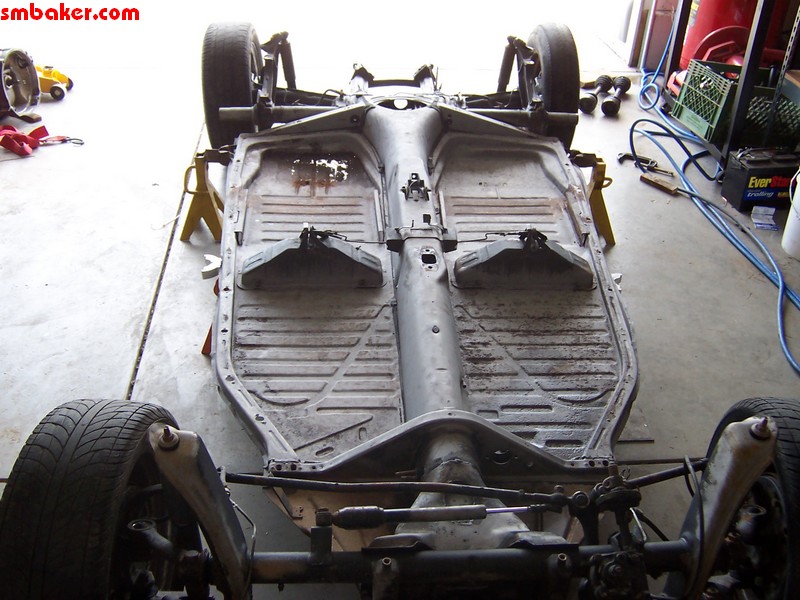
Next stop was a towing company to pick up a source vehicle for the new pan. After stripping the body off of the new pan, this is what we had:
Unfortunately, it’s been a couple of years since I finished the manx project and I never bothered to complete this guide. On the good side, I still have a bunch of pictures, so I’ll try to explain what I was “probably” doing in them.
The first thing to do when evaluating the new pan is to check and make sure it’s square. Here is my father, checking the distances cross-wise from shock tower to shock tower.

Next we mark the area to be cut.

Apparently I though it was important to demonstrate how to mark the tunnel section as I took a picture of it:

Here is a picture of the tunnel cut out. Probably did this with an electric cutting wheel, as we didn’t want to mess up the stuff inside with the plasma cutter.

Here is a picture of me pointing at the tunnel, probably trying to illustrate some important subtlety of the cutting procedure that has long since been forgotten. It’s notable if for no other reason than it’s one of the few pictures with me in it:

Here is a picture of the inside of the tunnel facing forward and facing backward. I don’t know why I took them other than it’s probably one of the rare opportunities to get a picture at the stuff that’s inside the tunnel. Might come in handy later.


Below is a picture after we cut out the remainder of the pan.

This is what the leftover junk looks like that is cut out of the pan:

Time to shove it all back together and start welding. It’s probably important at this point to make sure that everything is still square and true before making it permanent:

I cleaned up the rust and painted the pan black. Next thing was to make some diamondplate floor plans because the pan really didn’t clean up that well. Started by creating some posterboard templates:

Apparently I forgot to take some pictures, because our next shot is of the completed manx!


Thank you for the picture of inside the tunnel… I want to drill thru the tunnel and needed to make sure I didn’t hit anything