In this video, I talk about the Pilotuner T601 FM tuner that I restored:
This is one of those times where Nuts & Volts magazine got me… I read an article on restoring old tube equipment, and decided I wanted to do this too, and perhaps to design some new test equipment in the process. It was quite an experience, as this was the first time I had attempted this. The Tube Tuner came from eBay in “The tubes light up but I haven’t tested it” condition. Anytime the seller tells you he hasn’t tested something, or can’t test something, that’s eBay-speak for receiving a nonfunctional item. Fortunately, that’s exactly what I wanted, as restoration was part of the experience.
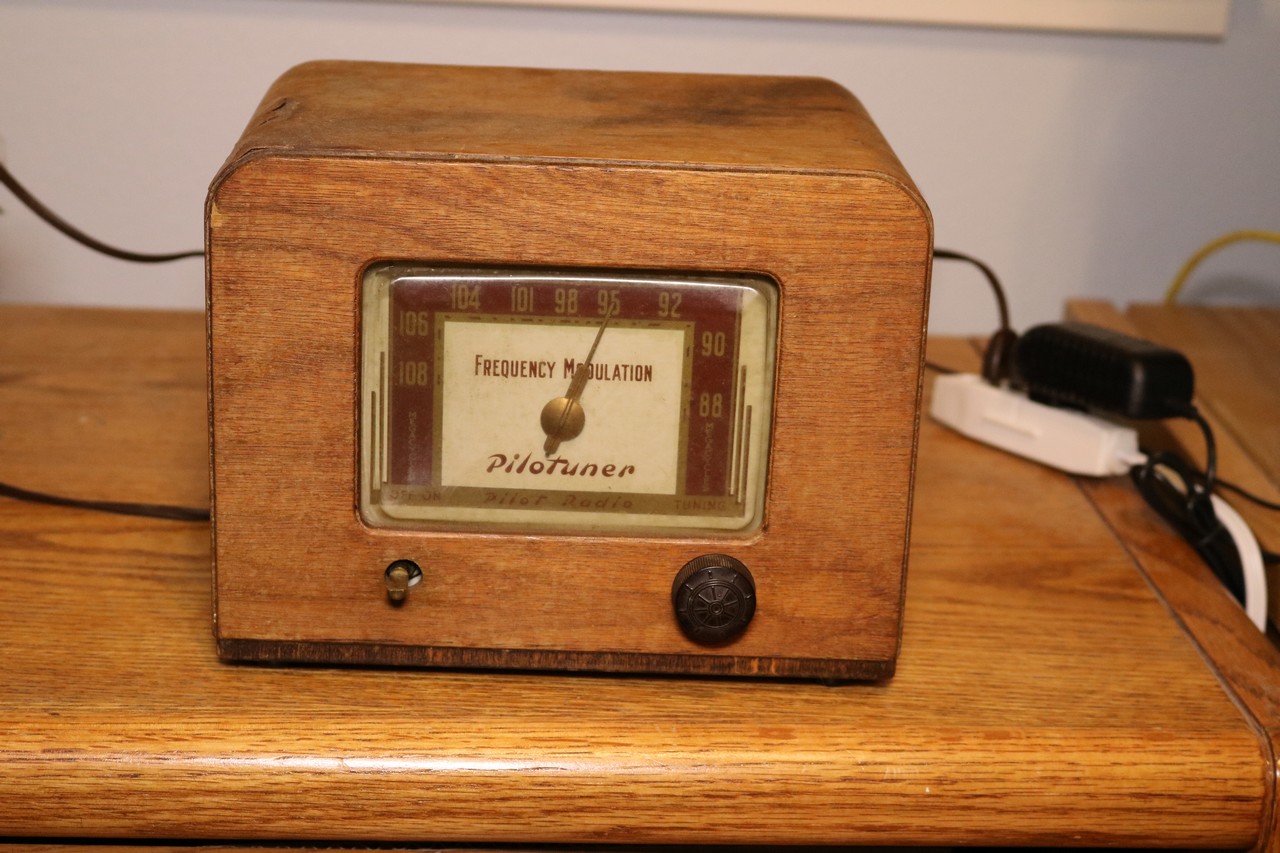
Let’s start with a picture of the front of the tuner:
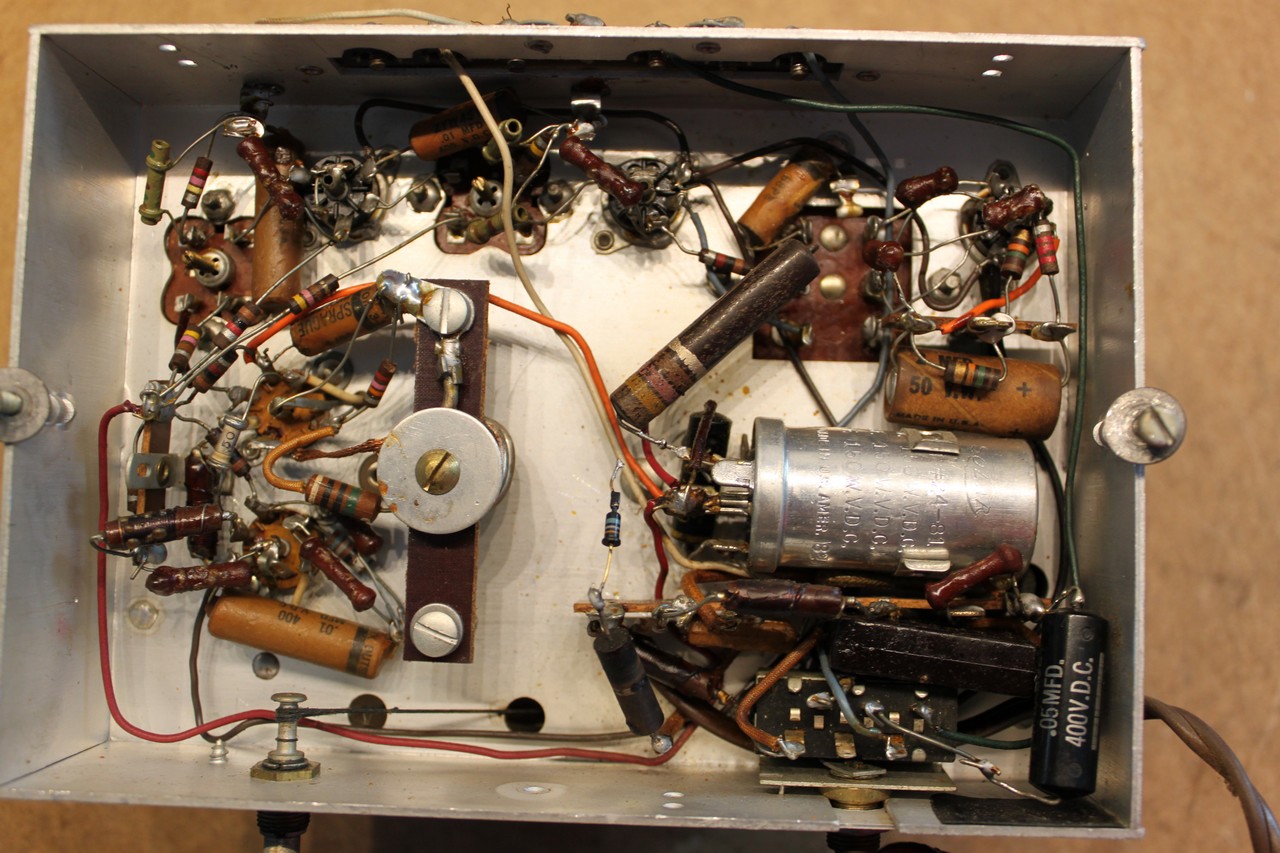
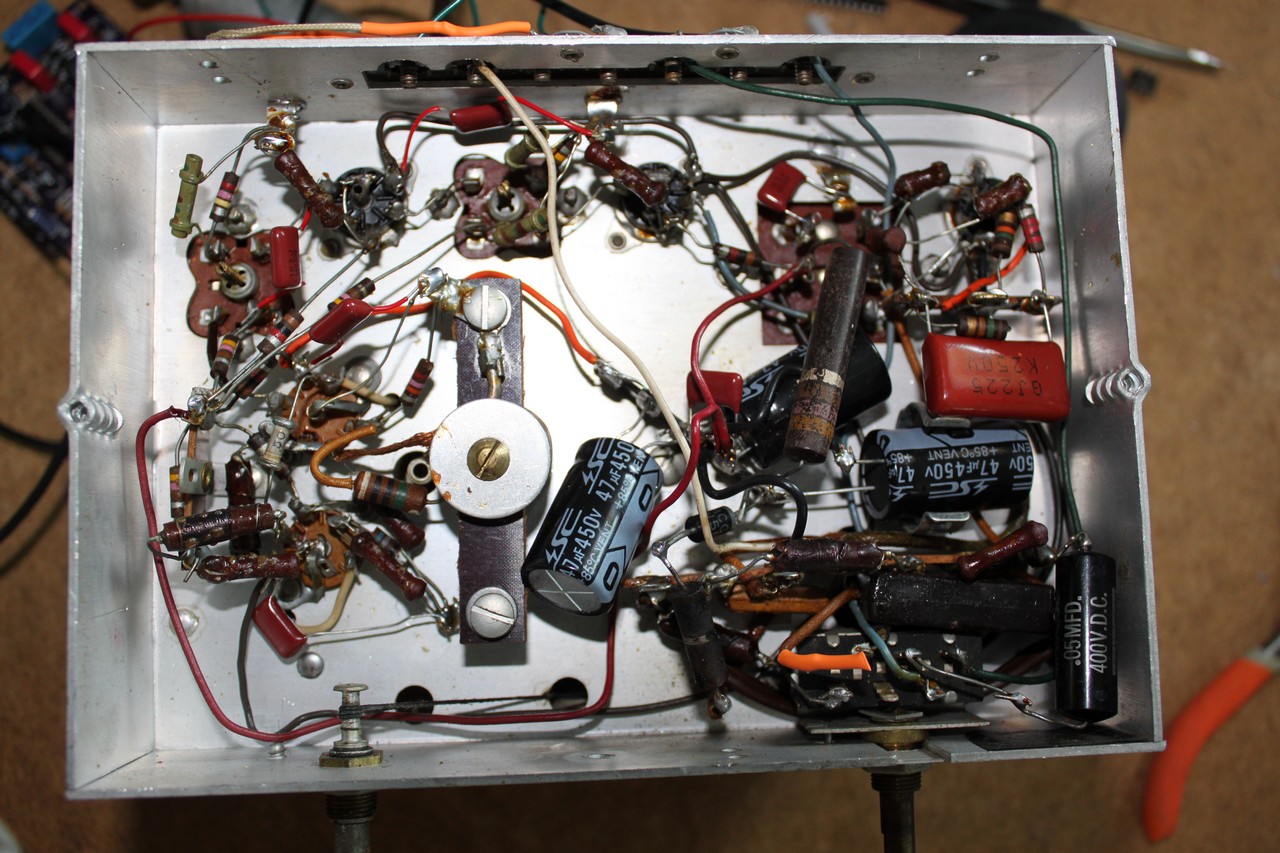
Now let’s look inside:
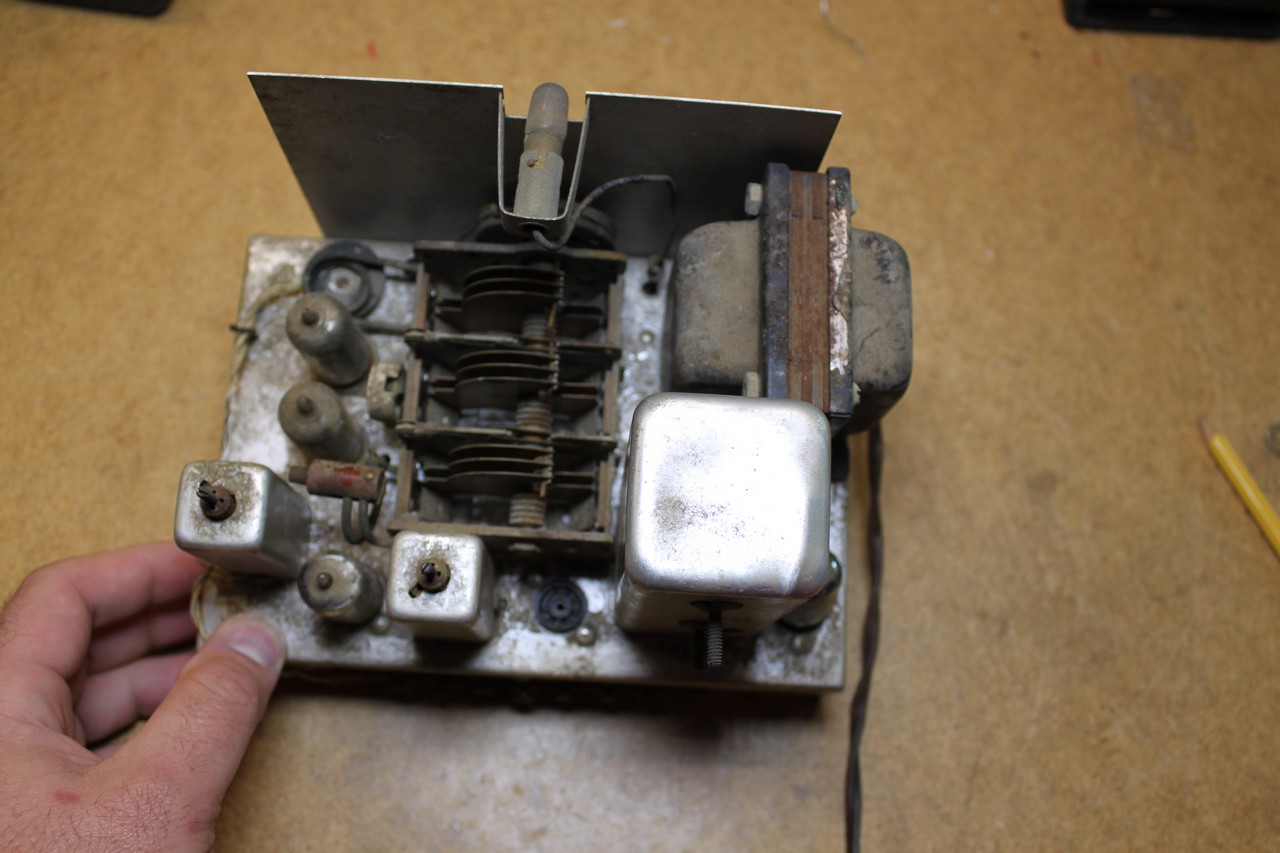
The first thing to note is that large metal can in the right-middle of the above picture. That’s a very old electrolytic capacitor. It’s actually three capacitors in the same can. Most people will automatically replace those when they start to restore an old radio, as electrolytics often fail. The cap was in fact the main source of trouble with the radio not working. It wasn’t filtering the B+ voltage, and it was varying wildly. Also note all of the orangish capacitors scattered throughout the radio. These are old wax/paper capacitors and are a fire hazard. Replace them whenever you see them. The next picture is the top view, showing the tubes:
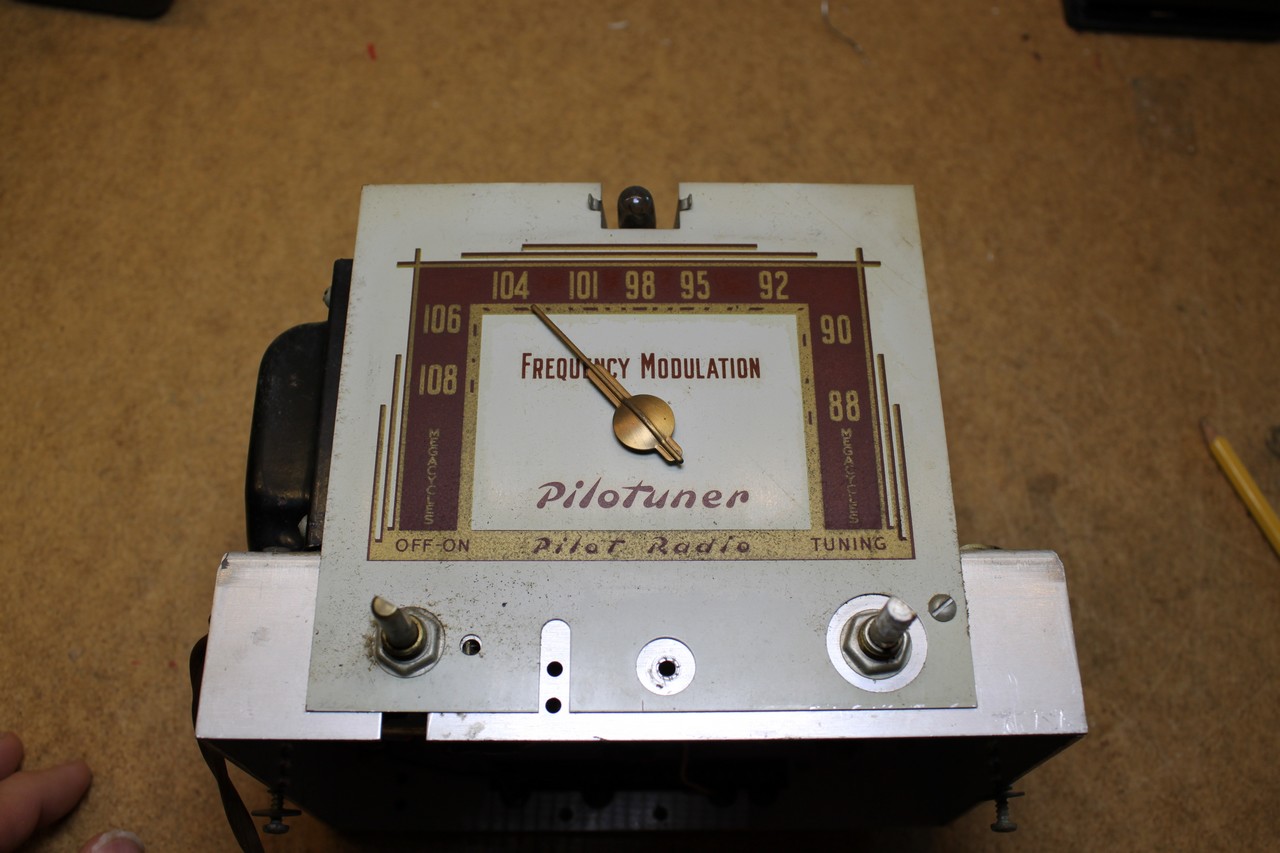
One of the tubes is missing! Well that’s alright, I knew that from the eBay listing and was one of the primary indicators that it wasn’t going to work. I ordered replacement tubes. I cleaned it up. Next up is the front panel:
It’s in pretty good shape considering this thing is much as 30 years older than I am. The knob on the left is a simple two-position on-off. The knob on the right connects to a band that turns the main capacitor. The pointer is connected directly to the main capacitor. The incandescent bulb at the top was, of course, long dead.
Next up is a view after I replaced all of the capacitors:
As you can see, I replaced the metal can with a total of three modern electrolytic capacitors. I added a terminal strip to attach them. I also replaced all of the old wax/paper capacitors with modern mylar/film caps.
At this point, the radio was sufficient to tune stations, and produce music on the output. It wasn’t particularly good though, I had to do an alignment first. [blog post on radio alignment coming sometime in the future]
