This is a continuation of my post series on the Burroughs B21, a rebranded version of the Convergent Technologies AWS. If you’re interested in the B21 / AWS, then please start with my first post in the series: Burroughs B21 / Convergent AWS Vintage Computer Restoration.
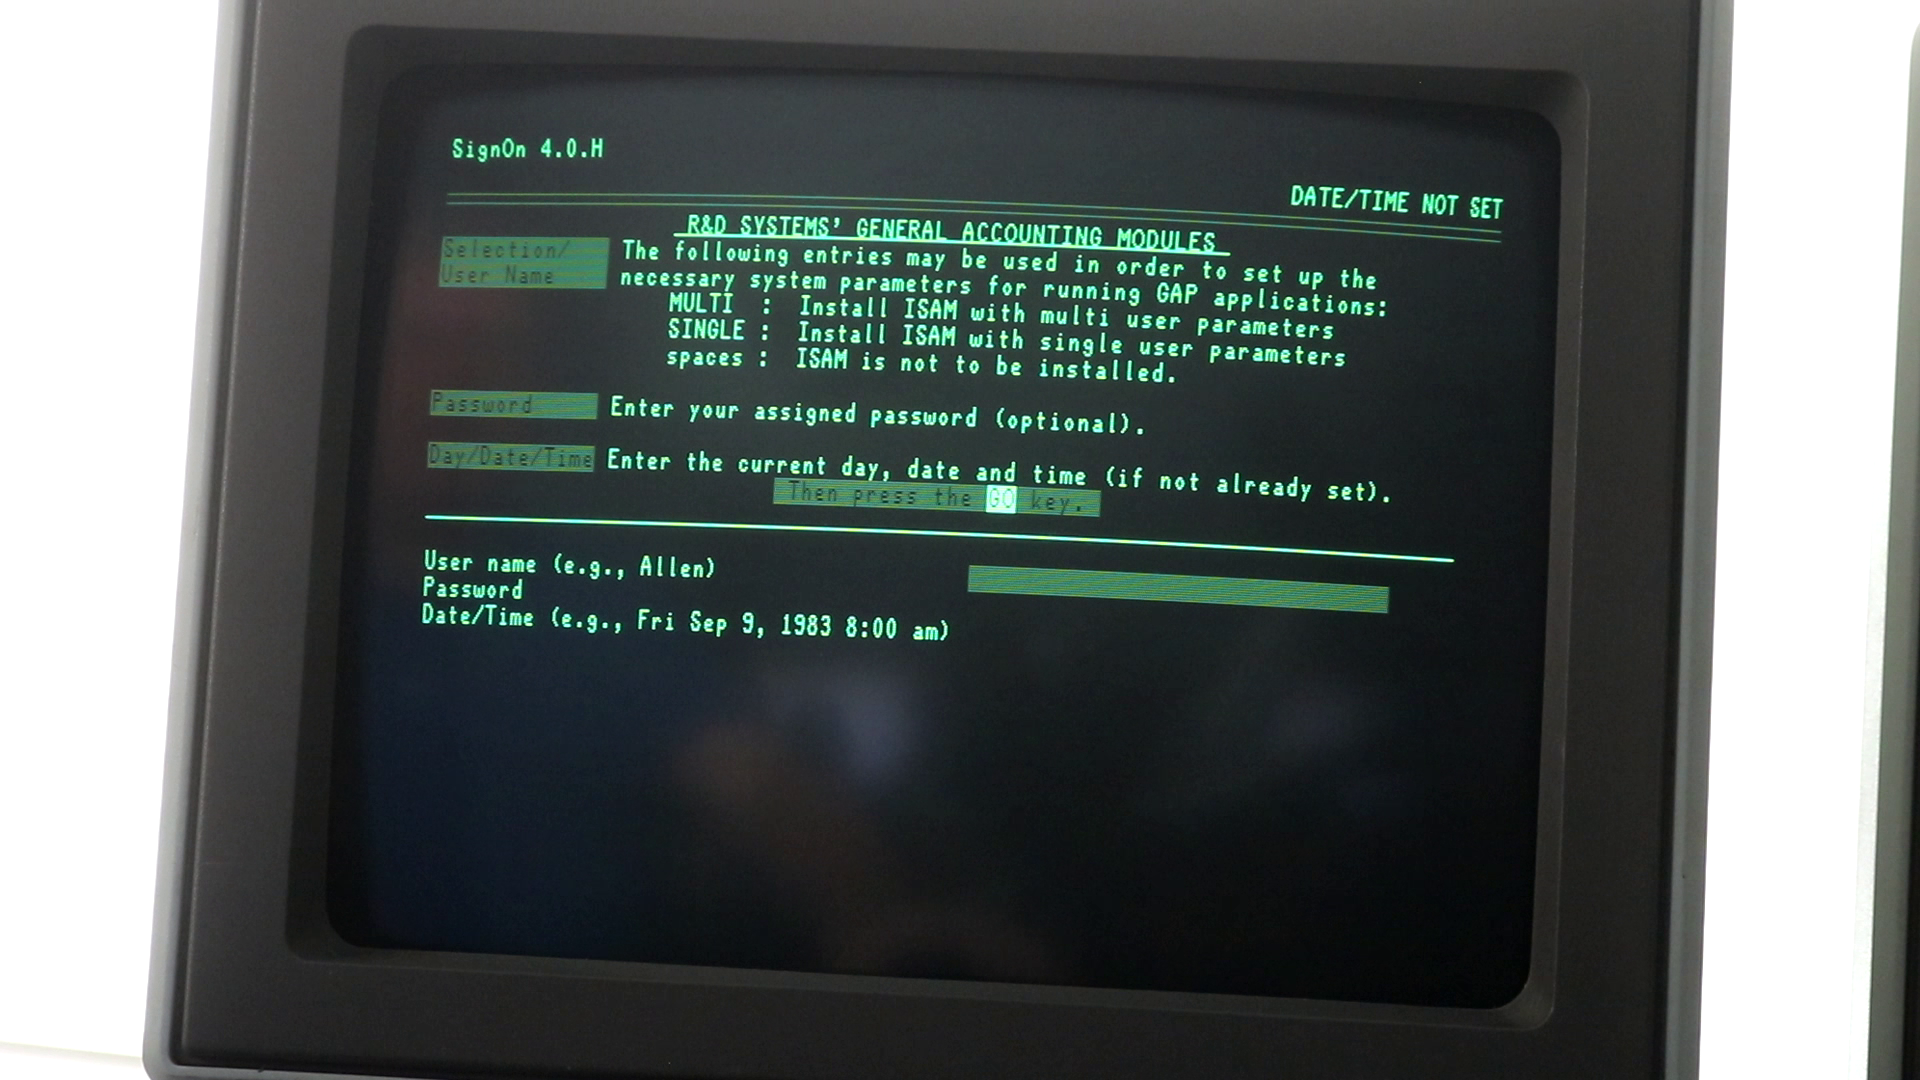
In this post, I repair the monitor cataracts on my Burroughs B21 computer. It started out looking like this:
Here’s an example of what this distortion will look like when you use the computer. The screen is filled with a test pattern consisting of the letter “A”, from edge to edge and top to bottom:
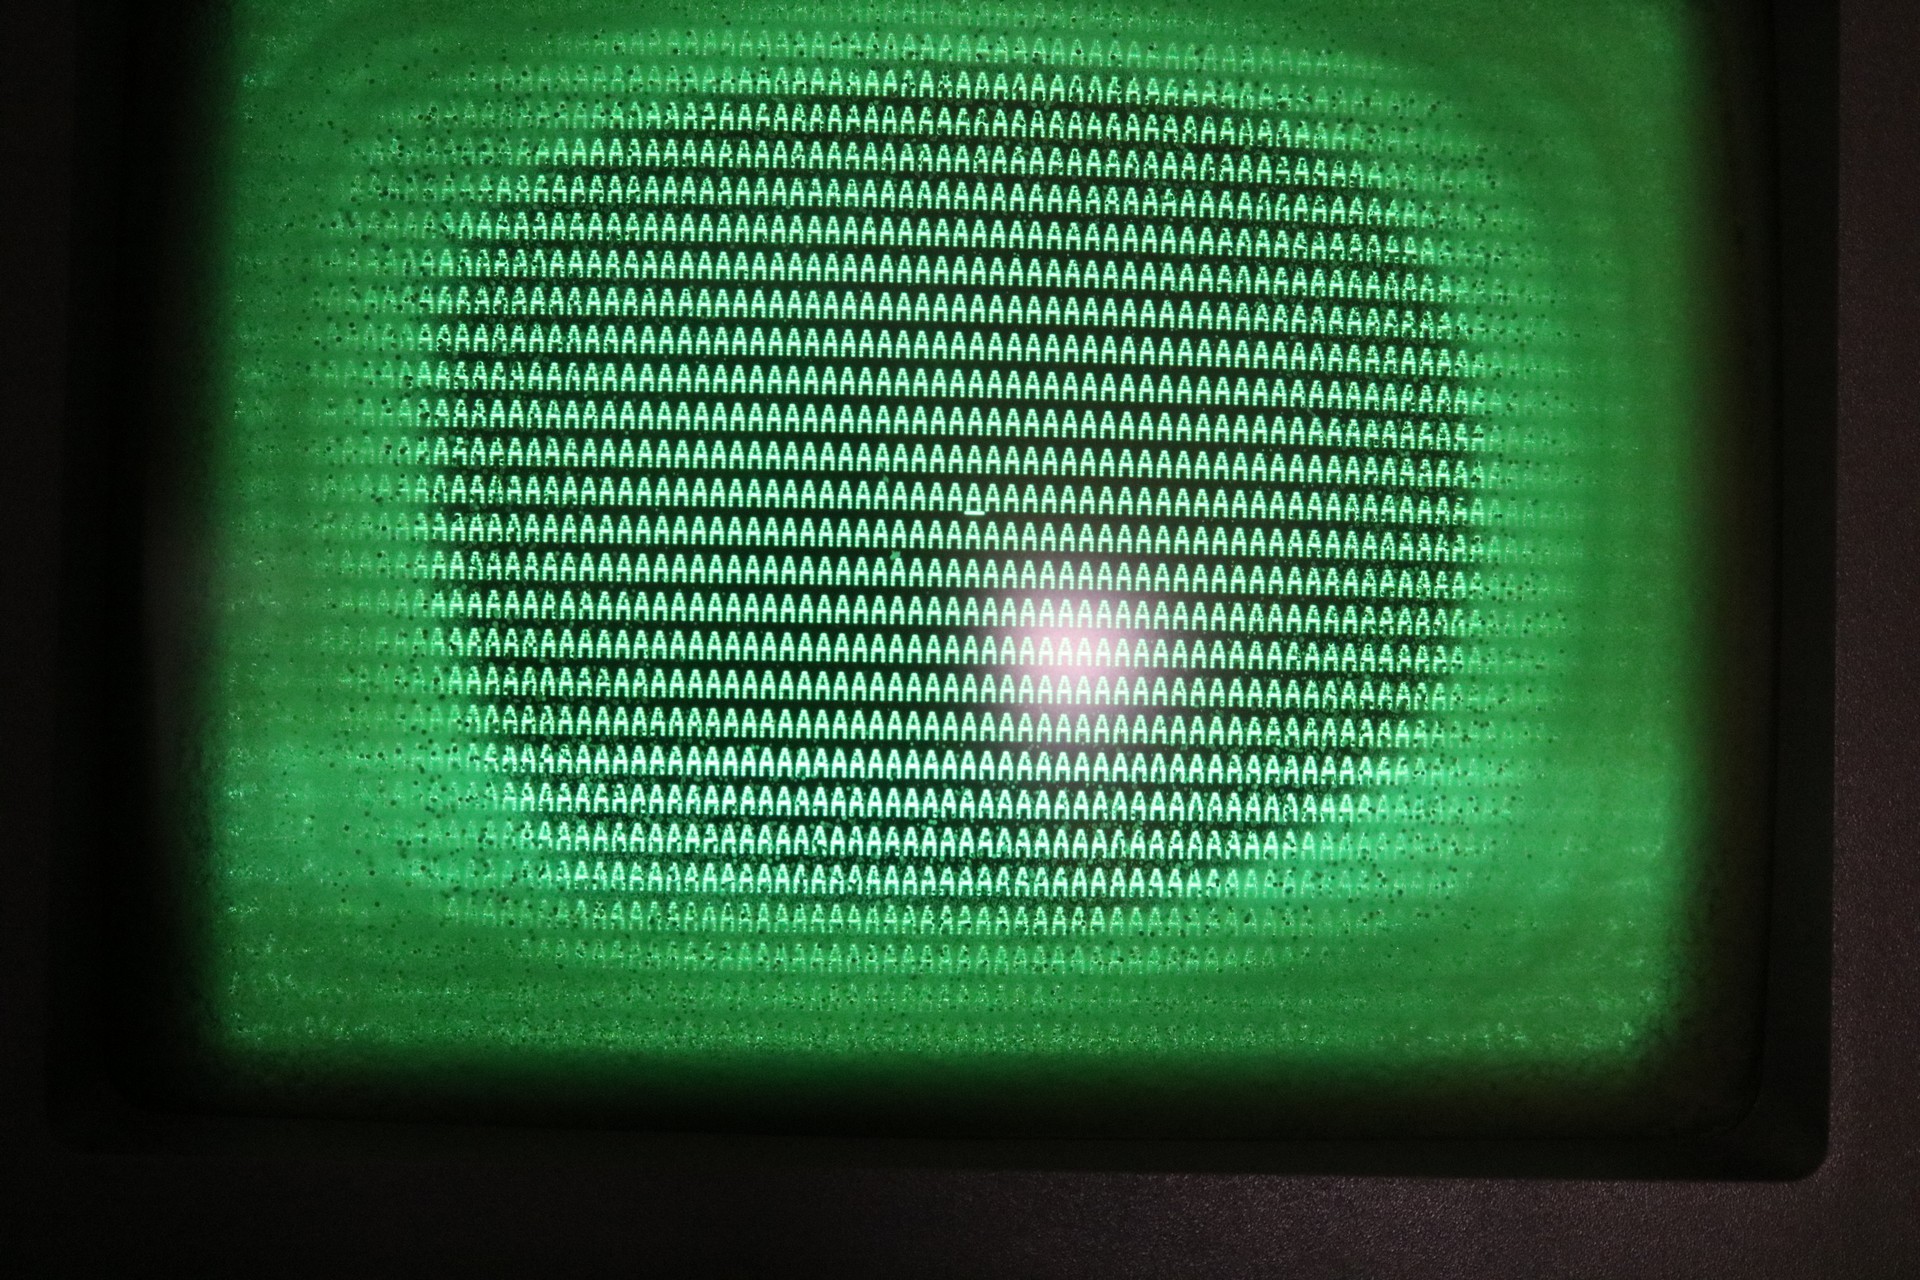
As can be seen in the screenshot of the running computer, and in the picture above, the monitor has a severe cataract issue. CRTs are usually produced with a layer of safety glass in front of the tube. Between the tube and safety glass is PVA adhesive. Over time, perhaps worse in humid environments, the PVA will degrade. The glue will decompose and mouldy specs will appear in it. This leads to a screen that is very difficult to read. Here’s a diagram:
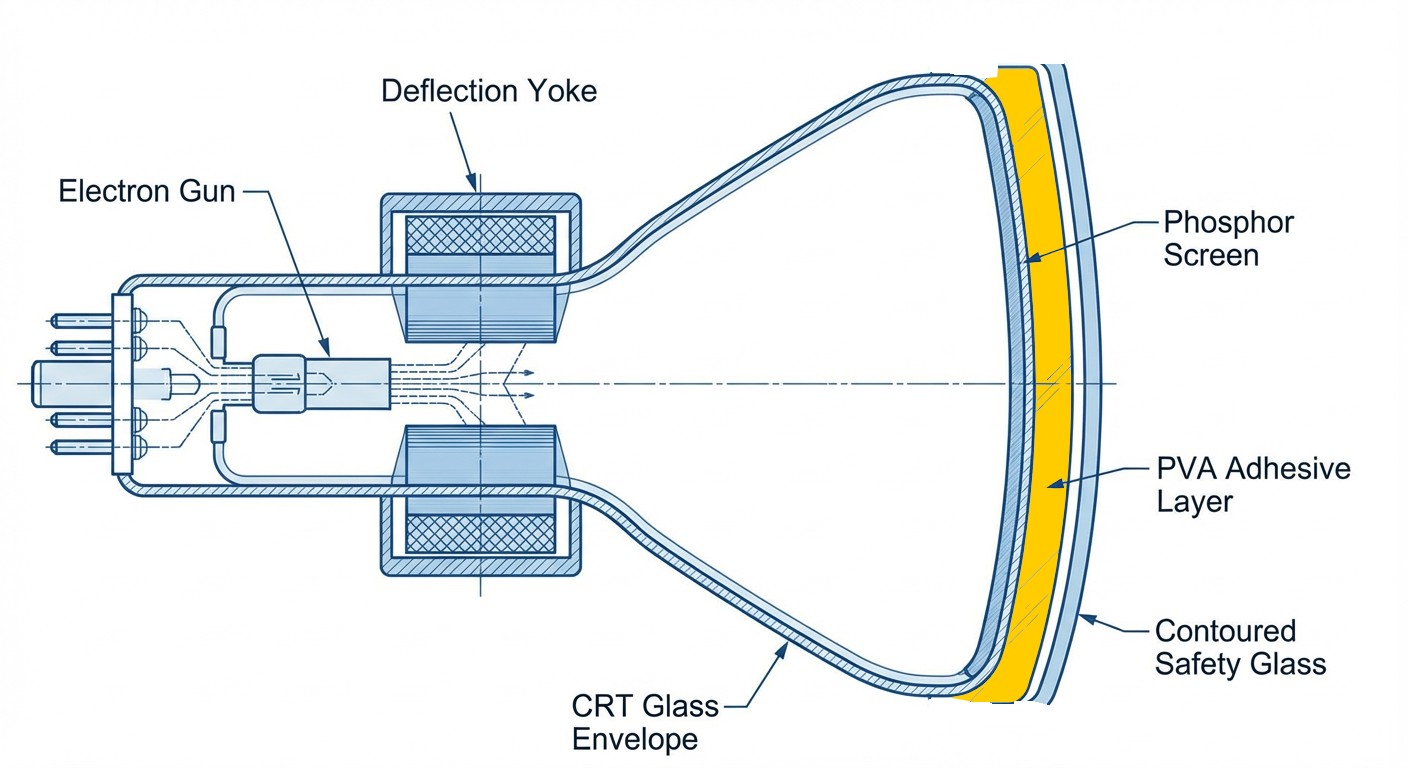
The solution is to heat the safety glass (and the CRT) enough that the safety glass can be removed and the PVA adhesive scraped out. Then the safety glass can be reapplied, using foam tape.
The screen repair was a half-day project in and of itself, not counting the research and tool acquisition I had to do ahead of time. I purchased all of the following:
- Face shield — it’s important to protect your face and eyes while working in close proximity to the picture tube.
- Halogen work light — the halogen light gives off a lot of heat across a broad area. It can be used to gently heat the picture tube.
- Heat gun — for adding additional heat to specific spots.
- Infrared Thermometer or Infrared Camera — useful to monitor how hot the CRT is getting. Good for peace-of-mind.
- Bondo Spreader — useful as a gentle prying or scraping tool, although it will start to melt and deform if too hot. I recommend wooden tools (chopsticks or wood shims) instead.
- Chopsticks — their wedge shape makes them ideal for applying measured pressure between the CRT and the safety glass.
- Wood shims — like chopsticks, but bigger.
- Plastic scraper — this is a tool I’ve had for years, for gentle scraping without scratching. It’s like a razor scraper but with disposable plastic blades.
- Foam tape — used to reattach the safety glass to the CRT. I recommend black rather than white.
- Air duster — when we seal this all back up, we’ll want to make sure there’s no dust between the CRT and safety glass. Either a can of compressed air, or a duster, is handy.
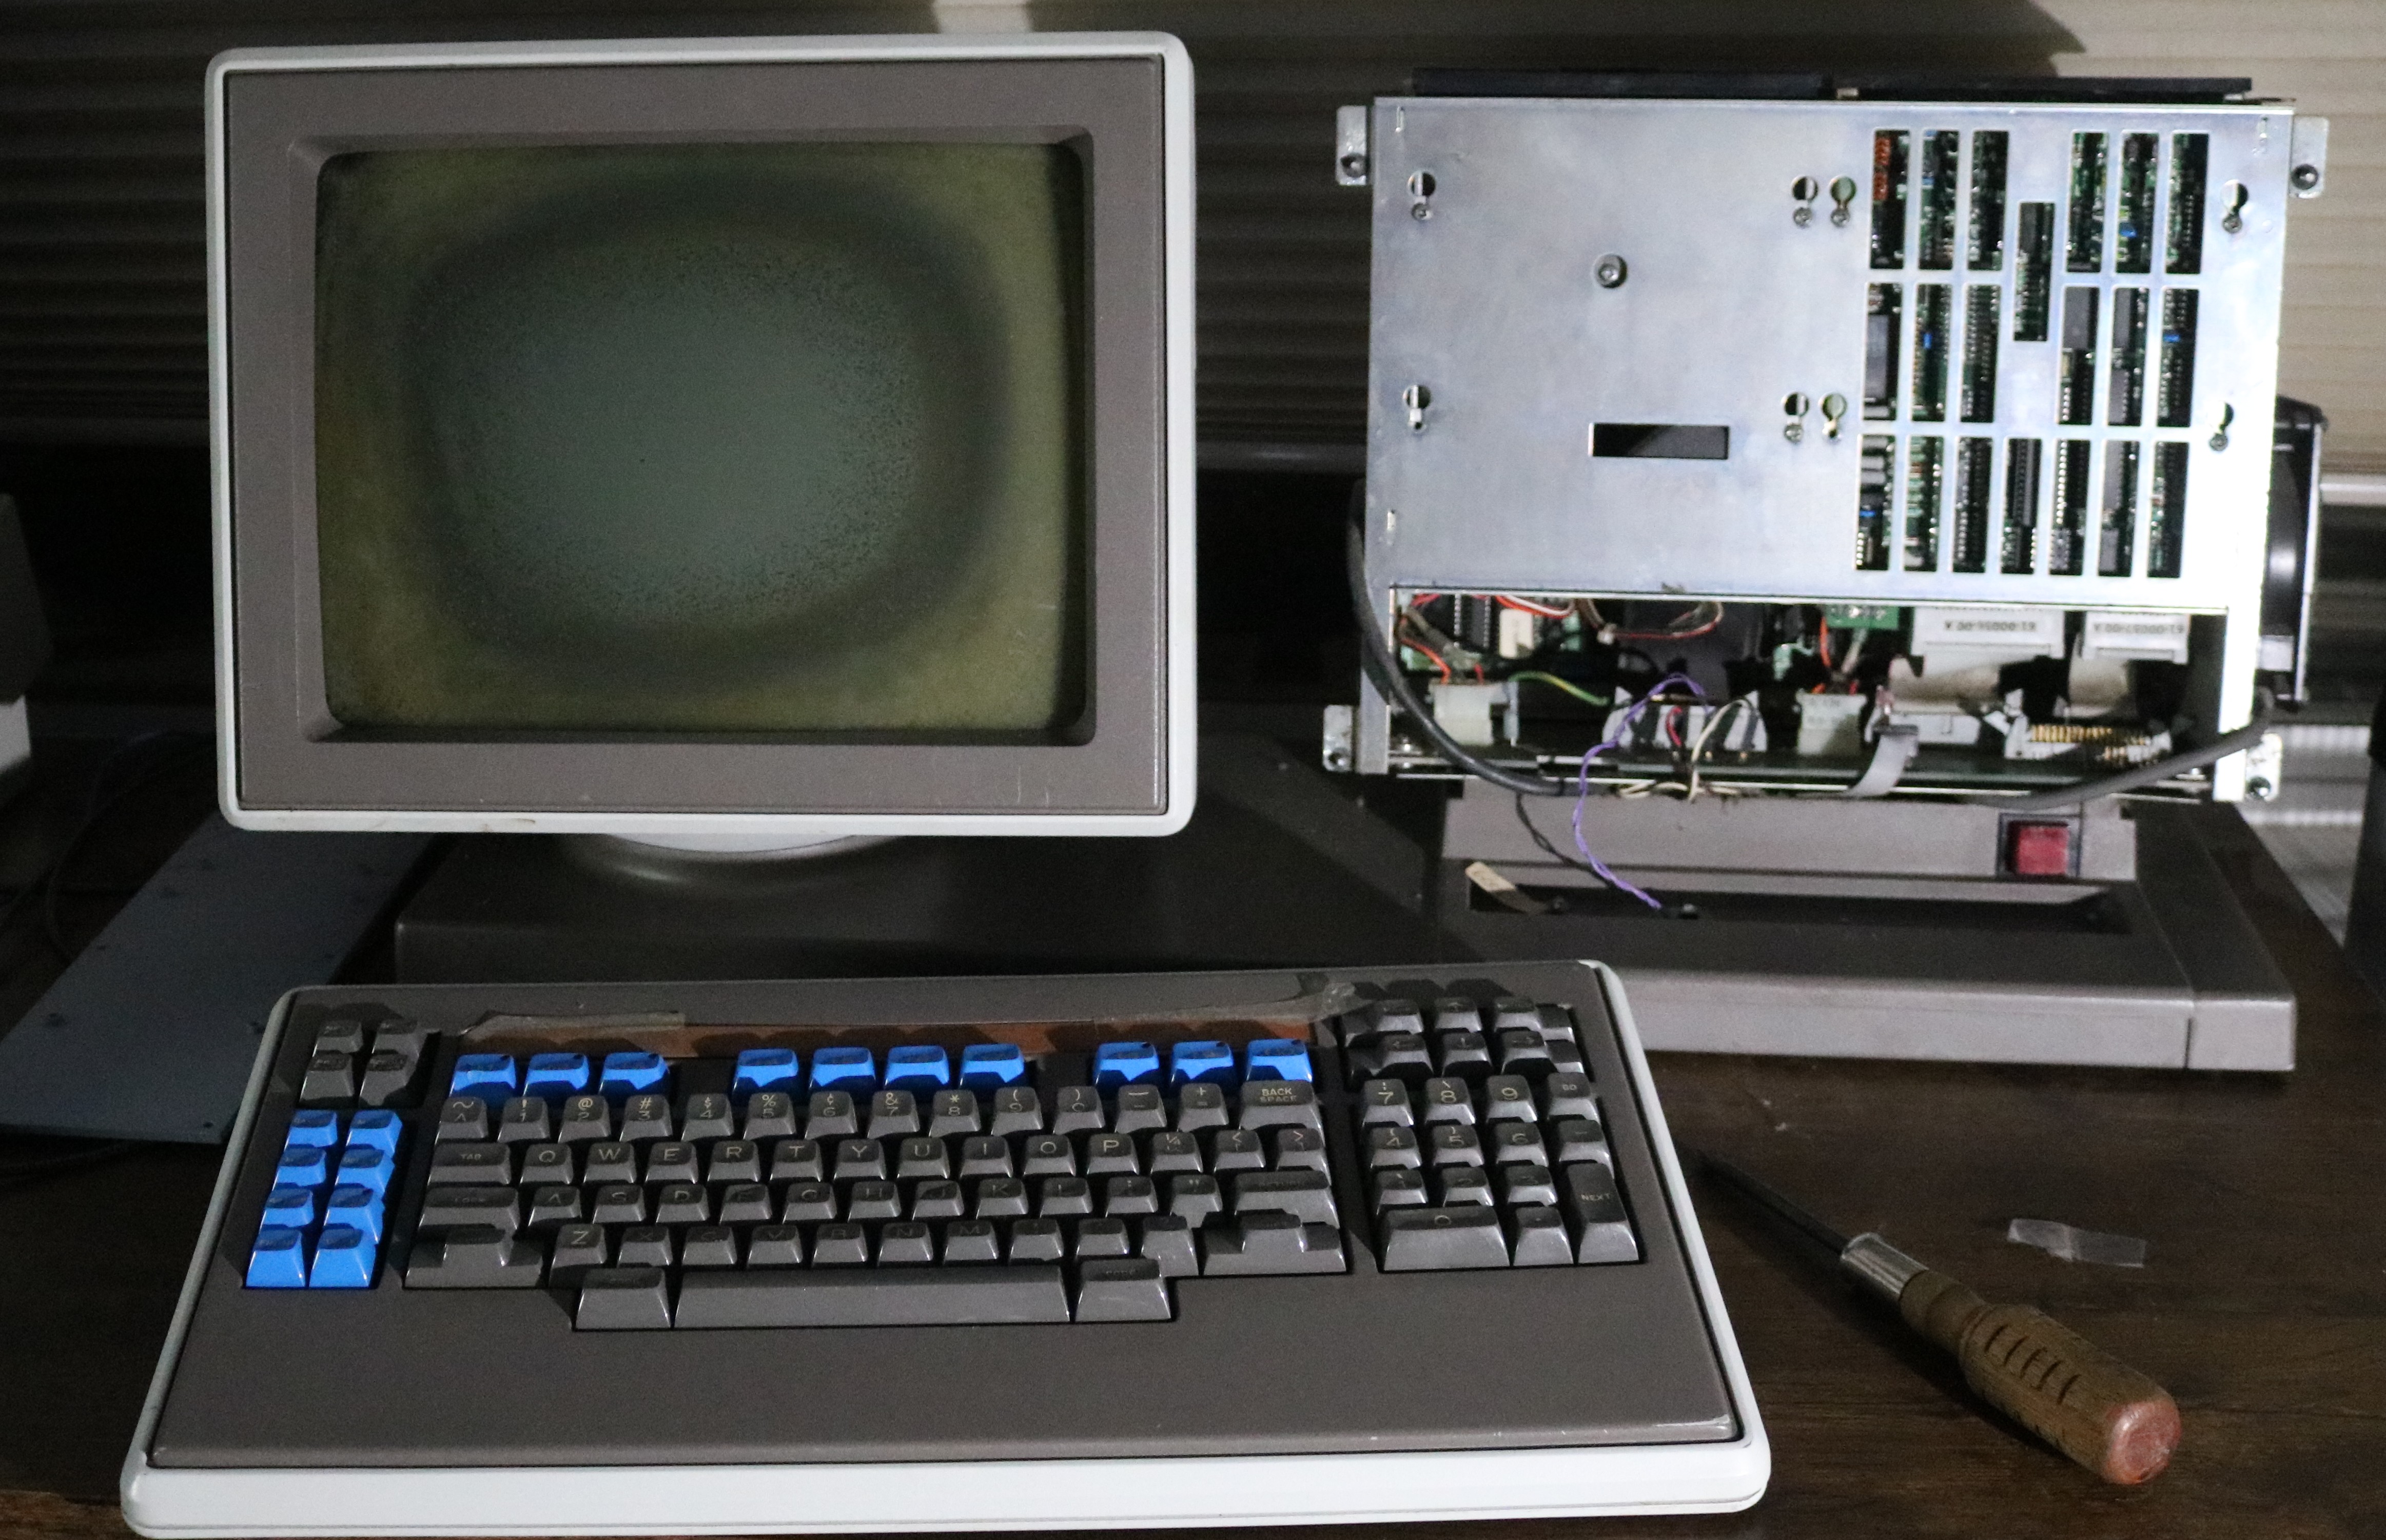
All of these tools are visible in the video linked at the top of the page. I set my area up in the garage:
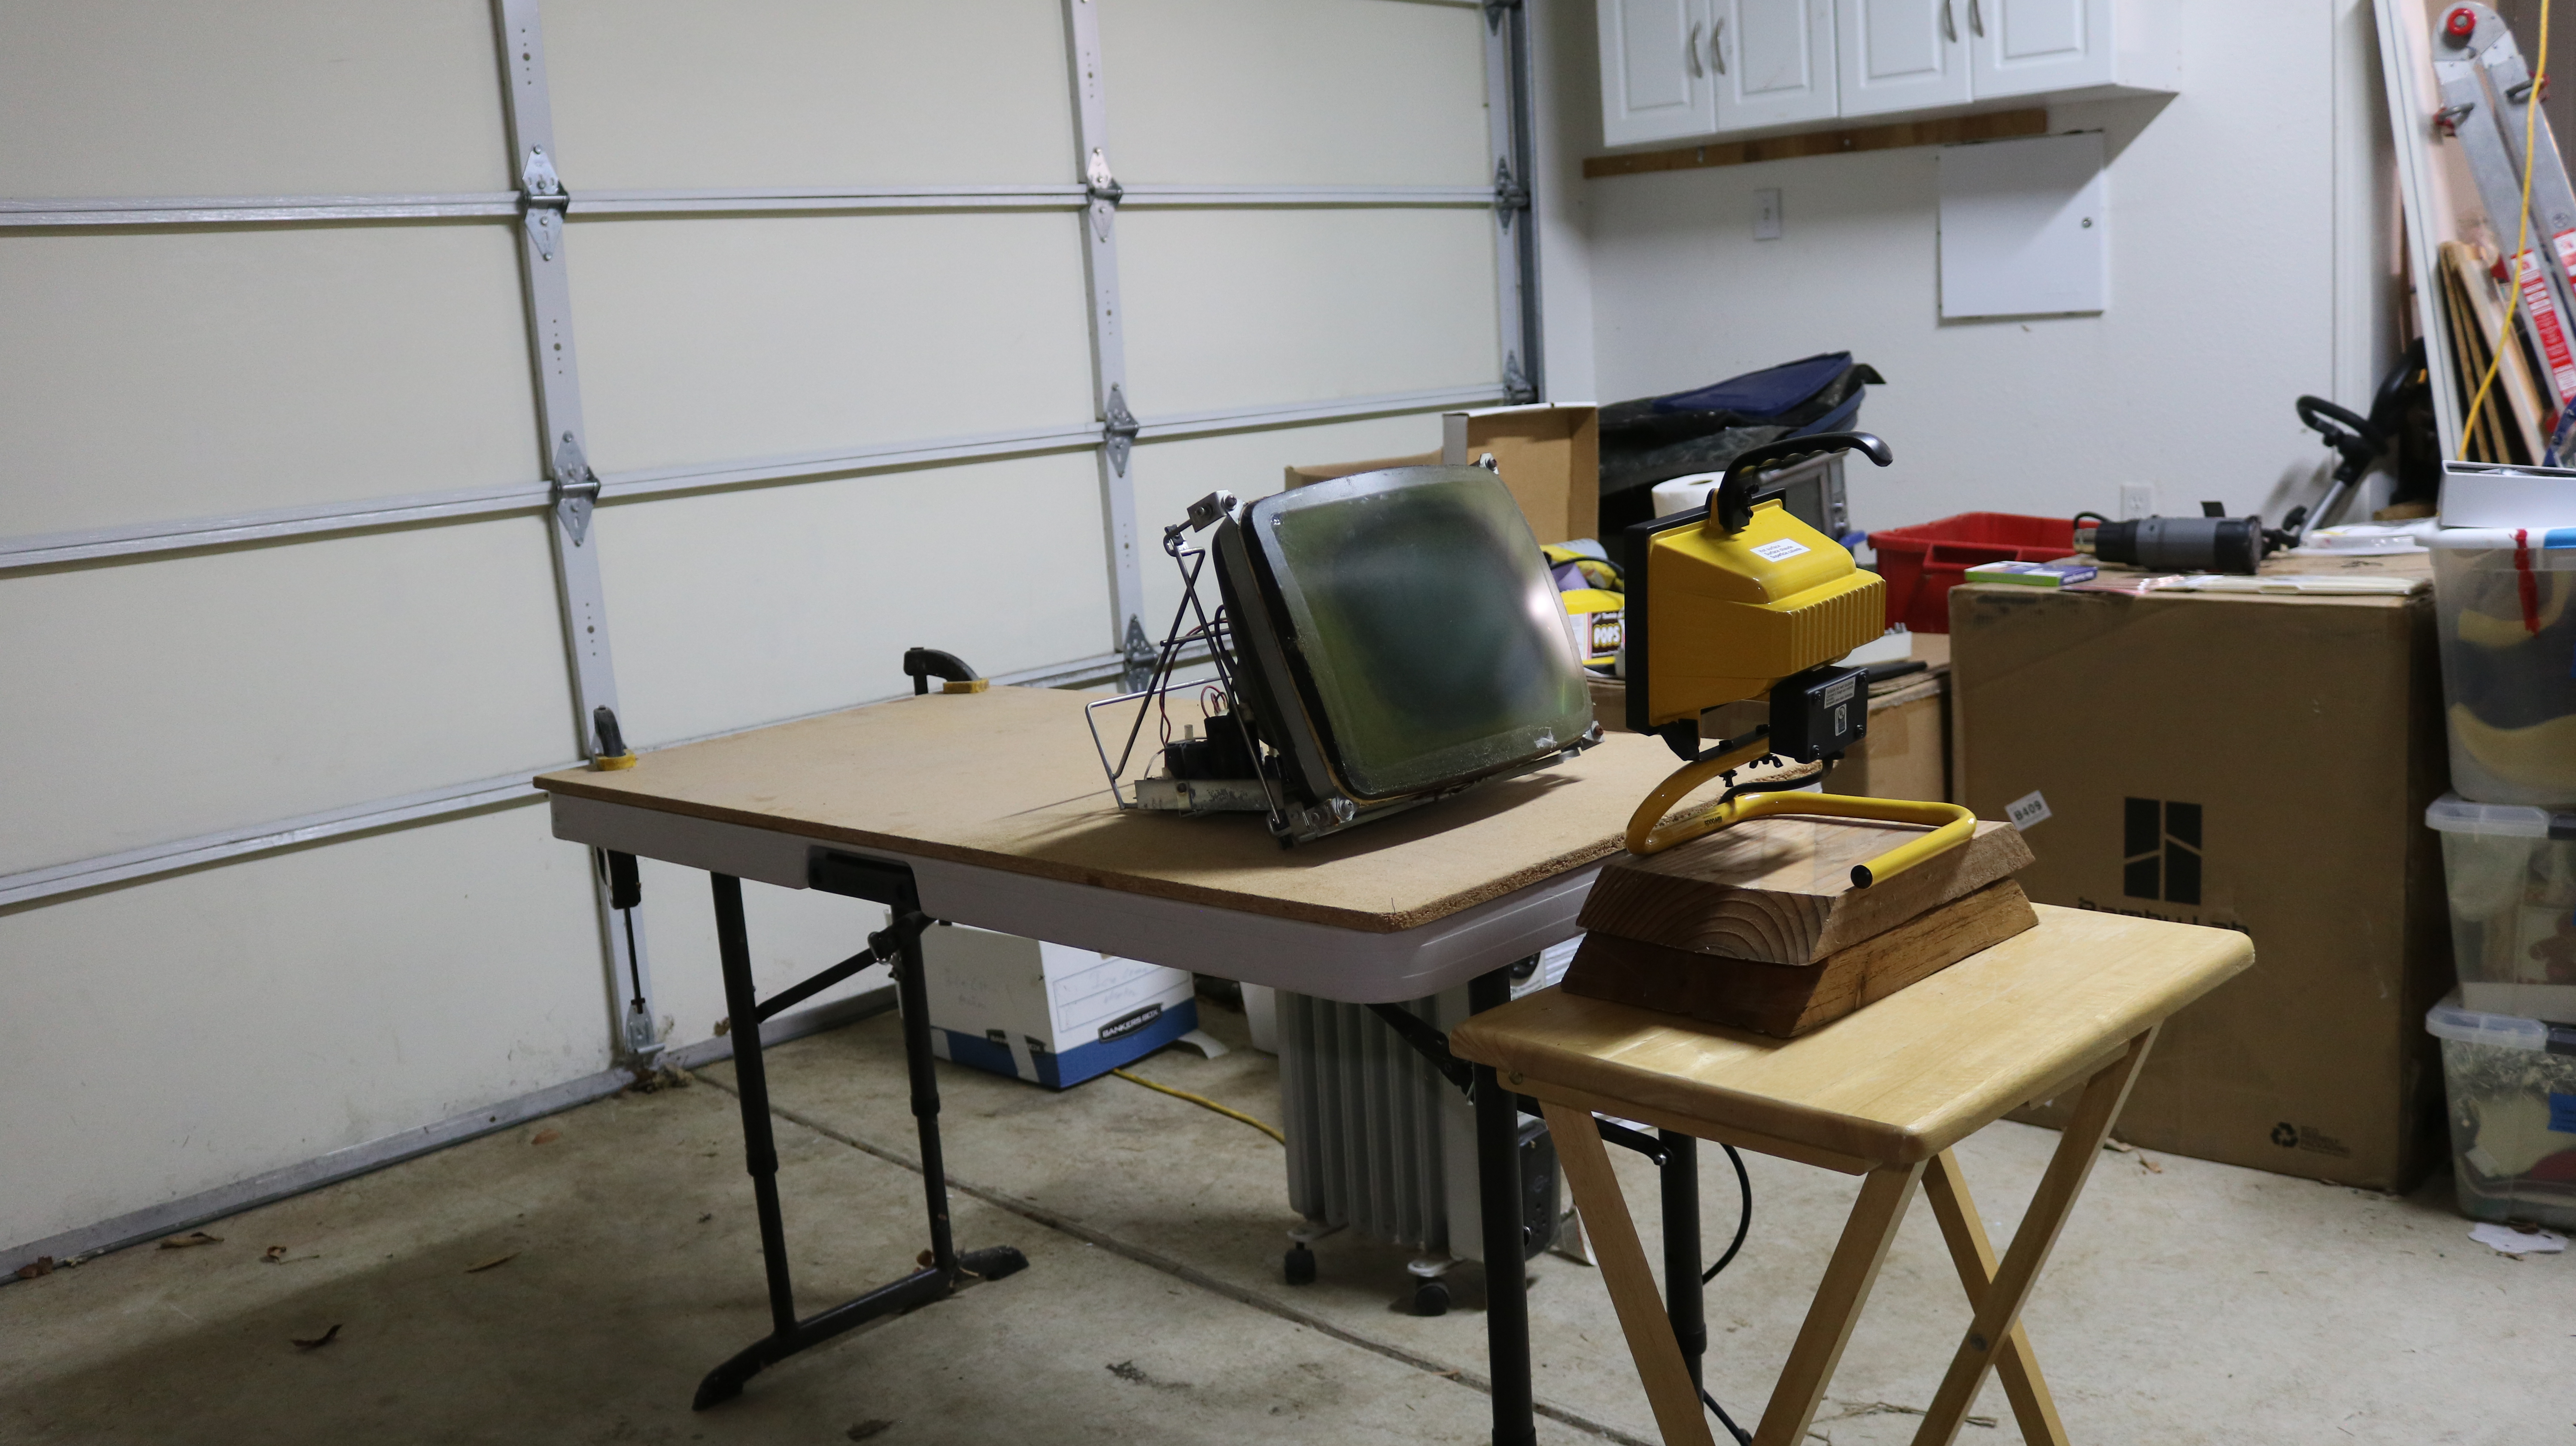
In most of the videos I watched, the CRT was removed from the monitor and placed vertically in something like a metal pail (with rags for insulation). My situation is a little unique in that you can see I left it mounted in the monitor frame. The design of the convergent monitor facilitated this because the tube mounted to the frame — many tubes aren’t like this. You’ll have to evaluate the process for your specific tube.
DISCLAIMER: Dealing with picture tubes is an implosion hazard and presents a danger. If you are not skilled or knowledgeable, then do not take on this task. Make sure to evaluate yourself and wear all necessary personal safety equipment. Watch as many videos as you can to see other people do it.
The process is relatively straightforward, though it’s hard to know what to do until you’ve done it the first time:
- There’s usually some tape around the periphery of the tube. You’ll have to carefully remove this tape.
- Apply heat to the front of the safety glass, either with heat lamp or heat gun. Do this gradually.
- Dig out some of the PVA from the corners / edges.
- Once you can see it’s starting to come free (large bubbles / “fingers” appearing betwen glue and glass), apply gentle pressure with chopsticks or wood wedge.
- The safety glass will come free — remove it and set it aside.
- Use scraper to scrape off loose PVA adhesive from glass and tube. Do not use a cold scraper on a hot tube. Plastic scraper is recommended.
- Let it cool off before doing the next step.
- Clean tube and glass with acetone. This will remove all PVA remnants.
- Clean tube and glass with isopropyl alcohol.
- Repeat step 9 until the tube and glass are clean to your satisfaction.
- Reattach glass to screen using foam tape.
- Blow out any dust between glass and screen.
- Use packing tape to seal the edges between glass and screen to prevent future dust intrusion.
All of this is covered in my video. Once that’s done, I had a nice clear screen!